 Is everyone feeling it’s been another rough year? I’d raise my hand to that question. I don’t like to complain about life as I’m aware that I am extremely lucky in that I have my dream family, I live in a wonderful country, I’m able to work part time with flexibility around my health and of course (importantly) I have the time and means to sew. A quick summation of the year however, (6 hospital admissions, a few months off work in and around hospital, a feeling of disconnection to the world far beyond my normal and a body that is discovering squish) demonstrates that it is been a little rough.
It’s ok though, because I’m coming out the other side. Health is more settled with potentially more good things to come, the family, the work and the sewing are still patiently by my side. I’m adjusting to being just a little more squishy and starting to enjoy planning and updating my wardrobe.
One of the biggest barriers to return to sewing has been the change in sizing and it’s not much fun to retrace your favourite patterns up a size when your old ones just, and I do mean just, fit. On some days. And then on other days. Not at all.
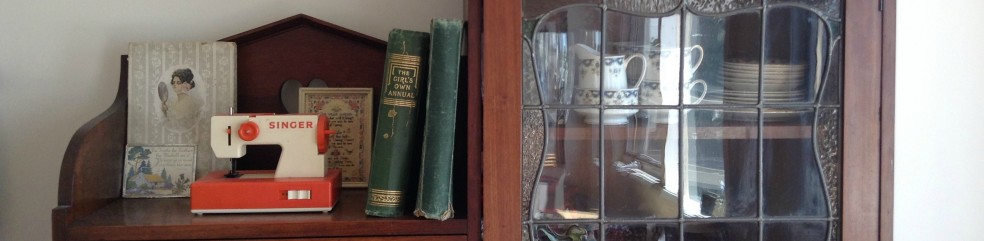
So I’ve taken a different approach and started using patterns that I haven’t made up before as it’s easier to trace off the new measurements on something that hasn’t previously been made. I had great success with the Datura blouse by Deer and Doe recently, having made two already. My next venture was to recreate a dress I saw in a window when last visiting Melbourne for Frocktails.
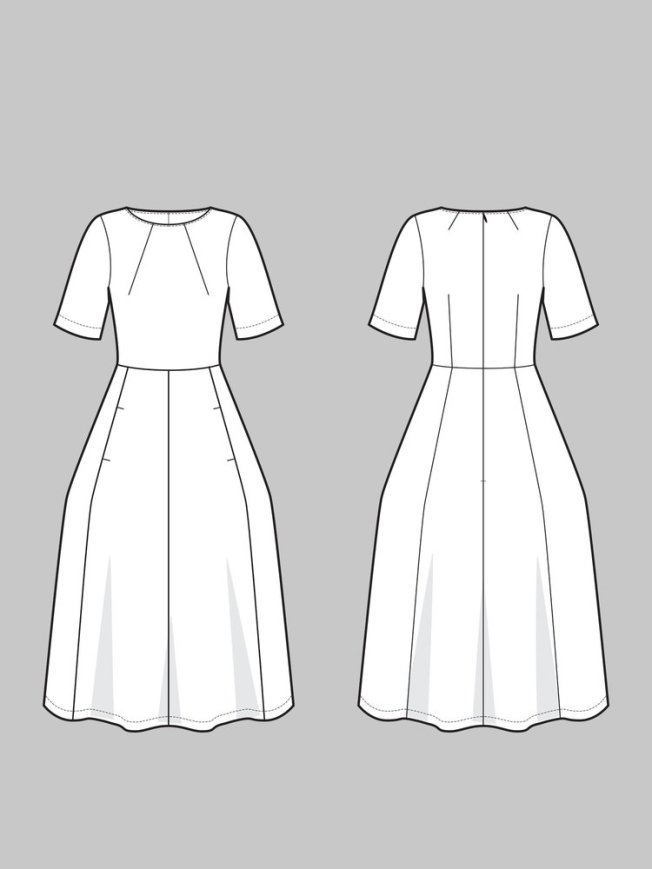
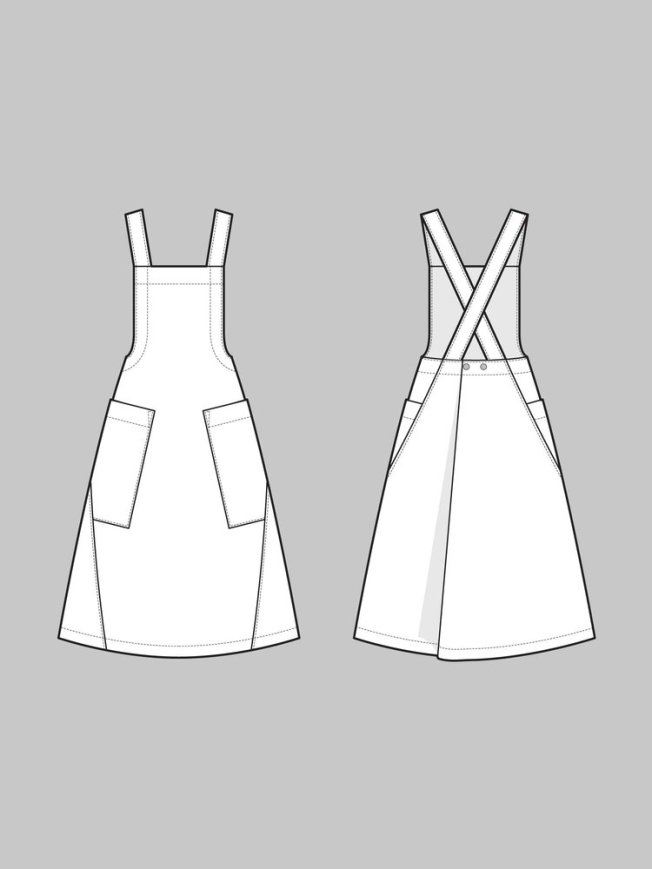
 A quick snap on the phone and I had my reference point. Visiting one of my favourite cloth suppliers, The Drapery, I found they had the perfect shade of chambray (in Red Panda no less) and also the Merchant and Mills Trapeze dress in stock. With a little not so complicated wizardry I’ve managed to create a reasonable homage to the dress that was my inspiration.
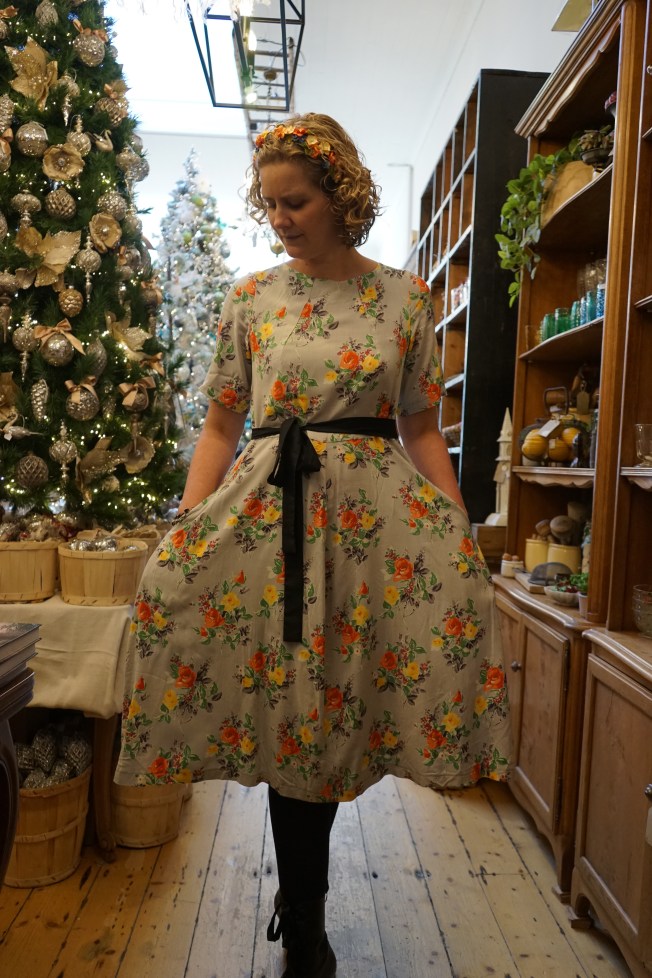
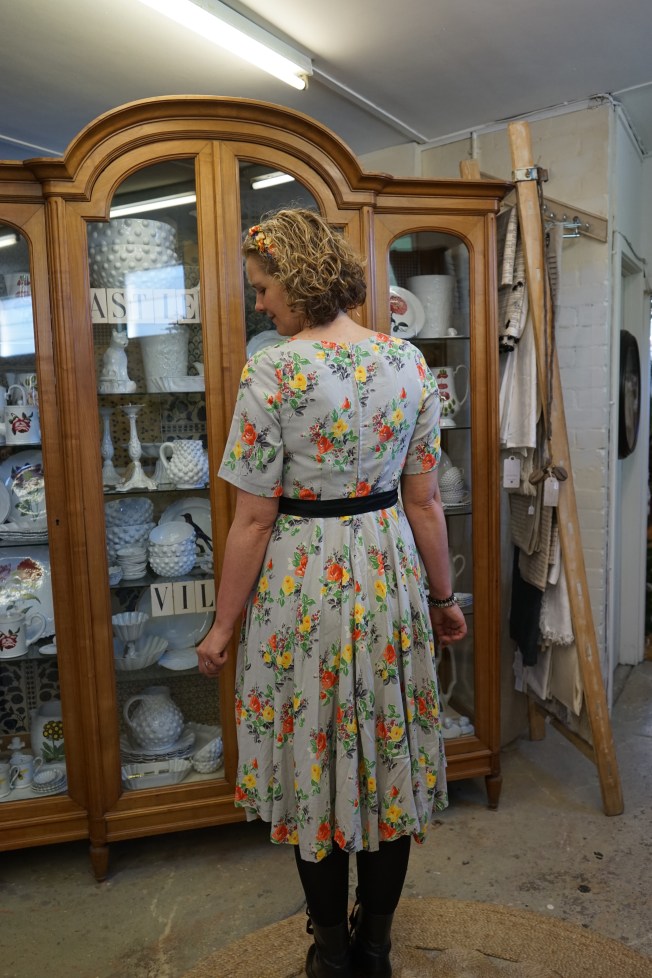
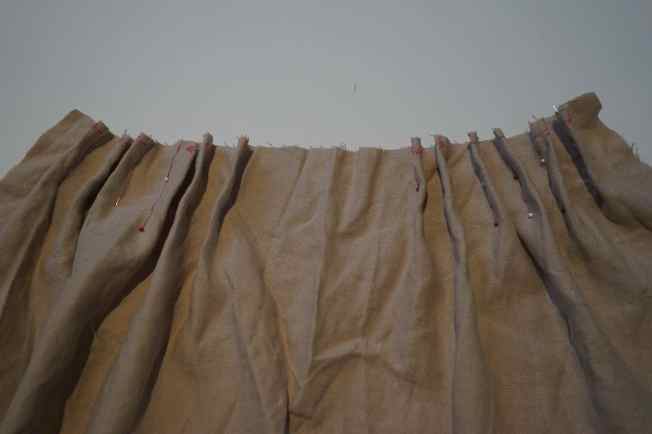
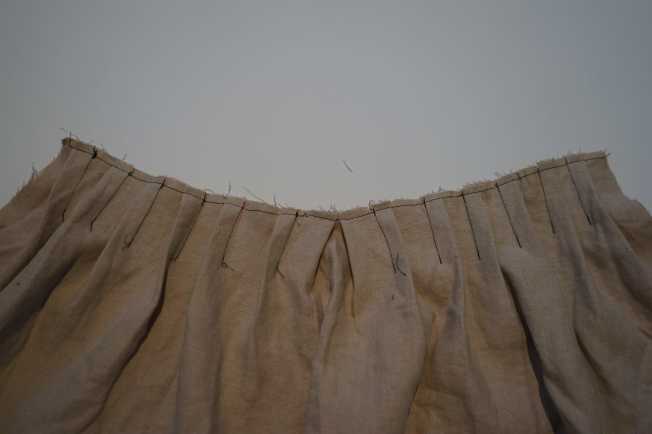
The only adjustments I made were to add some shaping at the waist, add little tabs to thread through the tie and piled on the ruffles by joining rectangles and gathering before attaching to the hemline. I also widened the neckline so I can slip the dress over my head and finished the openings with bias binding instead of facings. 
I did go to the effort of stitching lines across the bottom of the Red Panda ruffle however they really looked mediocre so I spent 3 hours unpicking 10 rows of stitching across 4 meters of fabric at a stitch length of 2.4. I can’t quite bring myself to calculate the actual number of stitches…
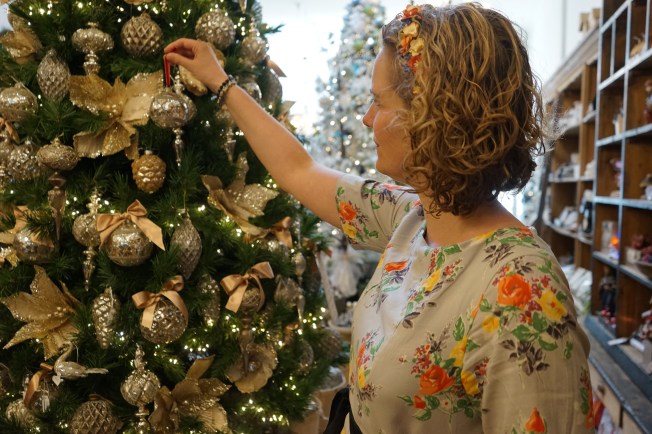
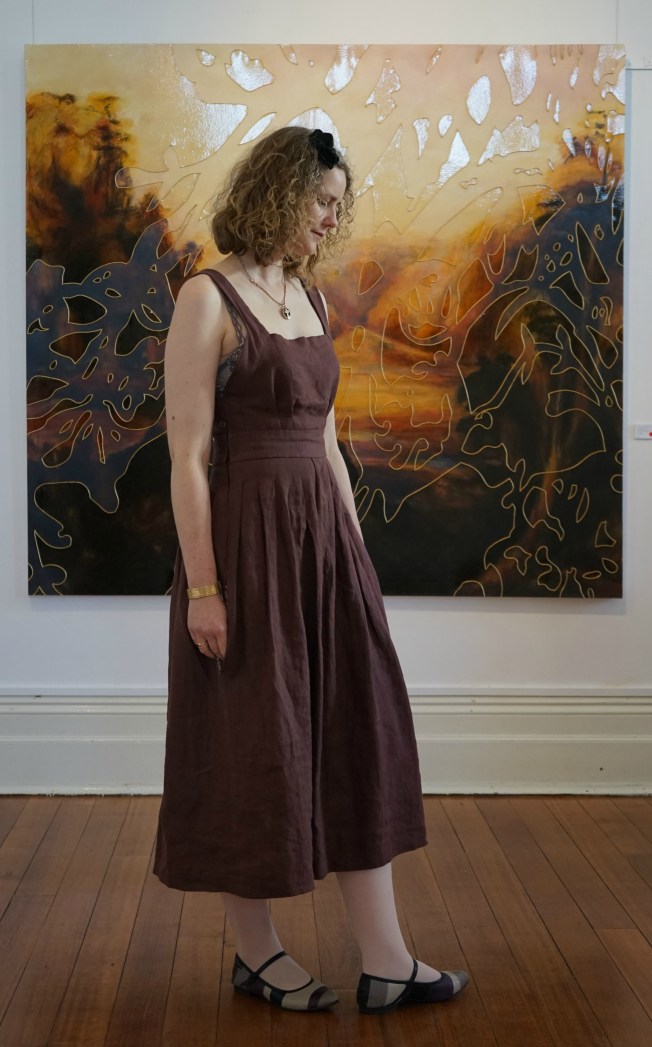
 So, I’m very happy with my Trapeze dress. Next up will be one in a black chambray or linen with a similar hemline. I love the slight blousing effect that comes from the tie, especially given there are no bust darts to provide shaping. And I feel comfy in it. I can breath. And still twirl of course (whilst breaking ALL the rules).

In other news I thought I’d provide a little summation of me this week, in Taking Stock:
Drinking: Melbourne Breakfast tea. Sharing with B1. Drinking tea with 10 year olds is the best!
Wearing: My new Datura blouse by Deer and Doe made with birthday fabric from Fibresmith.
Eating: Summer fruits. I think I will be roasting rhubarb and peaches next weekend. And then adding mascarpone.
Finished Reading: War and Peace! So thankful that I didn’t give up. Although I much preferred Anna Karenina. I also finished Sour Heart by Jenny Zheng which I loved.
Making: New clothes to accommodate the slightly squishier me.
Planning: My trip to Berlin next year. 13 years in the making and I think I’m finally ready to go in August/September 2018. So if you are keen for a catch up let me know! I’ll be over for about 4 weeks.
Grateful: For good health care. And specialists who get me. Continued. I’m booked in for treatment in January that should positively impact pain and fatigue. Since I was 12 I’ve only had one year (2008) where I wasn’t in significant pain or fatigued. Wish me luck.
Looking forward to: Planning my trip. Any recommendations for Germany and France gratefully accepted. And ways to budget my way over to England.
Loving: My three boys. And my gritty kitty, Panda Wine.
Watching: The Punisher. Very intense. Very violent. Also a good reflection on PTSD and how trauma affects.
Considering: Storing my special frocks that no longer fit so that I can still see them but not be tempted to try and squish myself into them.
Doing: Ballet in a Barre class. After two terms I can now complete a full 1 hour class without kickback fatigue.
Proud: That I walked the 6km Run Geelong a couple of weeks ago. Another first in that it was the first time I’d walked 6km without stopping in 5 years.
Listening to: Chonguri in New York.
Doing: Blogging for the first time in 6 months!
I hope that the world is being gentle with you and that pockets of kindness shower you when you least expect it. And that you have access to pockets if you want or need them. 
Curtsy
Pips.
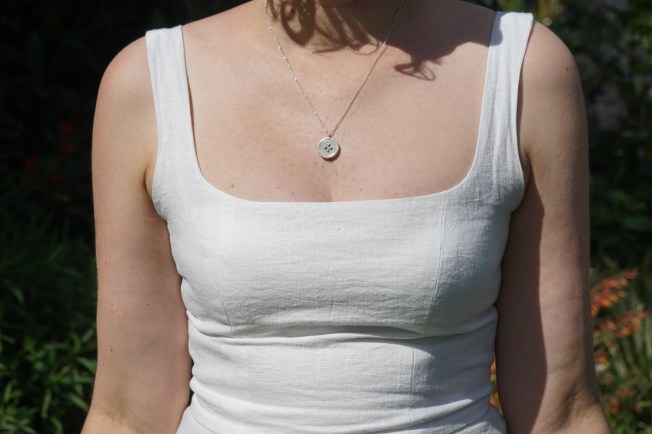
Photos by Bruce. Location at Oakdene Winery. Fabric from The Drapery. Trapeze Dress pattern by Merchant and Mills from The Drapery. Shoes by Duckfeet. Cameo brooch a gift from Jean Jean Vintage that I modified into a necklace. Headband from Gardens of Whimsy. Taking Stock template curtesy of Pip Lincoln.
A post script of the dress without ties in the bathtub. I’m actually not altogether displeased with the frump factor. I do however recognise that my mirror is in need of a darn good clean. 


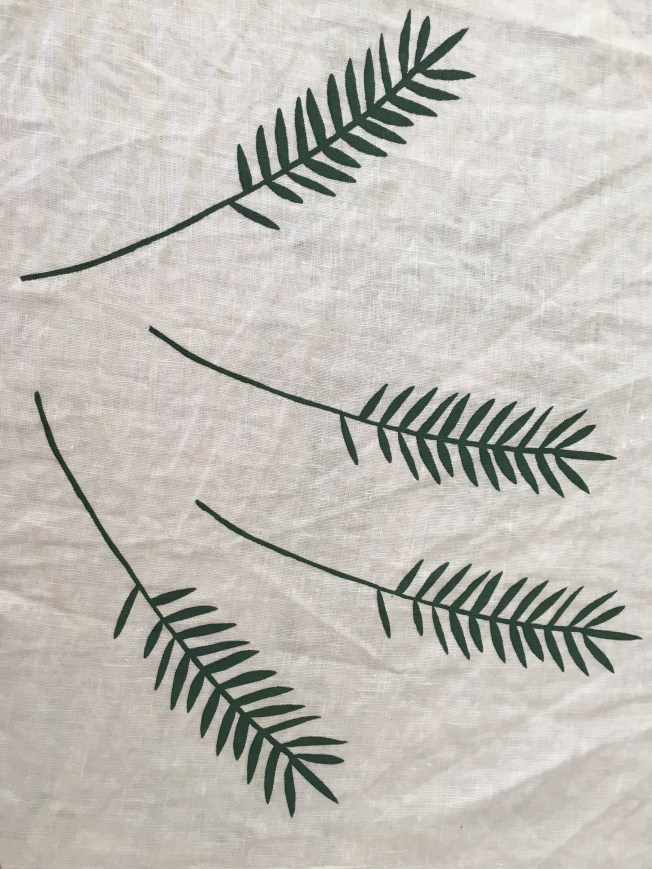
 Fulfilling my dreams of France at Lilypond. Wearing an altered Flora Dress by ByHandLondon as inspired by Elisalex. The bodice has the bust and the back darts sewn with the front waist dart left free and is lined in pale blue silk. Then two tiers of gathered skirts are attached. This was sewn in beautiful vintage cotton fabric from France sourced by Lilypond and will be a staple over summer.
 I found it really challenging this year to find a good coat pattern for this winter. I’ve grown out of my last Vogue pattern (thanks post menopausal squish, yet again). I can do up the buttons if I’m wearing just a tshirt underneath but anything else looks as though I’m straining the buttons which is not a good look. It’s been a great coat with a lovely full skirt attached but it’s always bugged me that the sleeves were too short (even when I had added 3 cm to the pattern) and the split at the cuff left me feeling that my elbows were exposed to the elements.#tallgirlproblems


 I’ve never really been drawn to gingham or checks but recently I find myself seeking out fabrics that are more geometrical than floral in flavour as I subtly shift my wardrobe style. I’ve seen a number of red checked dresses recently and knew I had to have one. What I didn’t know was how much I needed a pair of pantaloons to wear underneath. I remember getting to wear them once at


 Curtsey.


 If you follow me on IG (


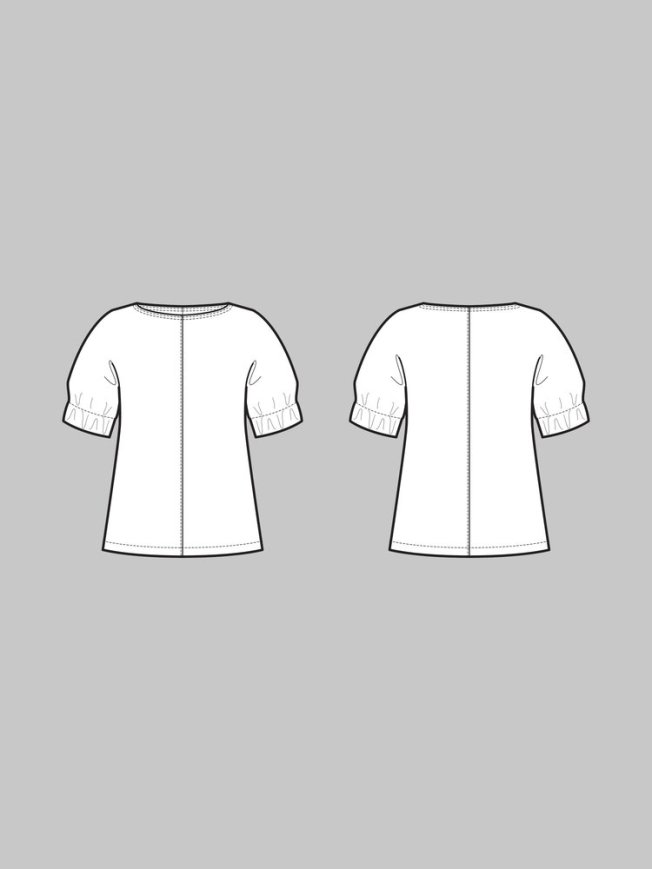
 I made my first Ute dress by Schnittchen Patterns some time ago (circa 2016) and was asked by several people for a how to. The pattern is drafted beautifully however the instructions are a little lost in translation. I’ve written up a sketchy step-by-step tutorial for those of the English speaking persuasion with some pictures of a toile I made last week.
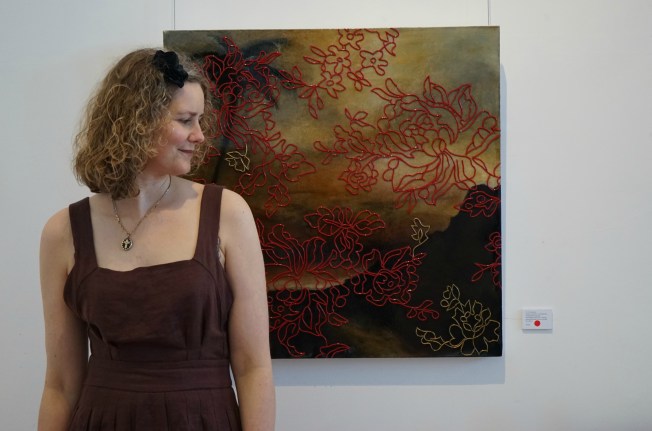
 Iron on fusible interfacing onto one set of the shoulder straps (front and back), and one of the front and back waistband in a light to medium interfacing.
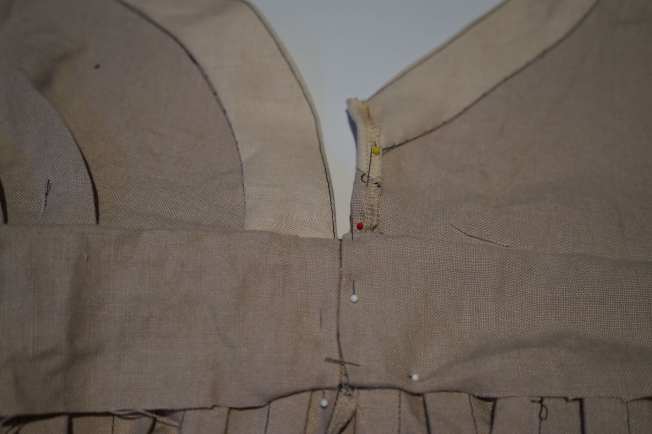
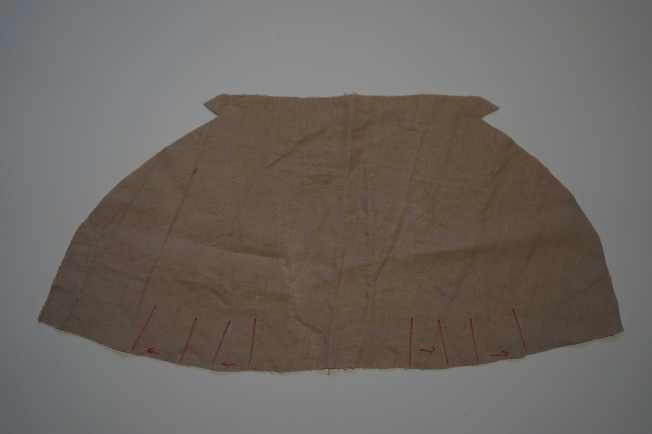 Fold the top edge of the front bodice over 1cm and press. Fold it over a second time at 1cm and press again. Top stitch just shy (close to the fold line) of the 1cm to catch the fabric. Repeat for the back bodice piece.


 Pin the back outer shoulder straps (those that are interfaced) to the back bodice piece, right sides facing. Make sure you leave 1cm SA at the top as this will be caught later when enclosing the facing. Sew at 1cm seam allowance and press the seam allowance into the shoulder strap.
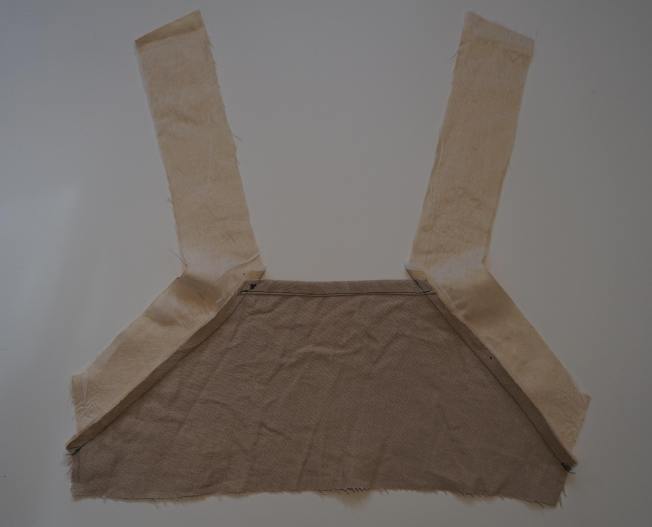

 Sew the (seperate) inner front shoulder strap to the back shoulder strap and press open shoulder seam.
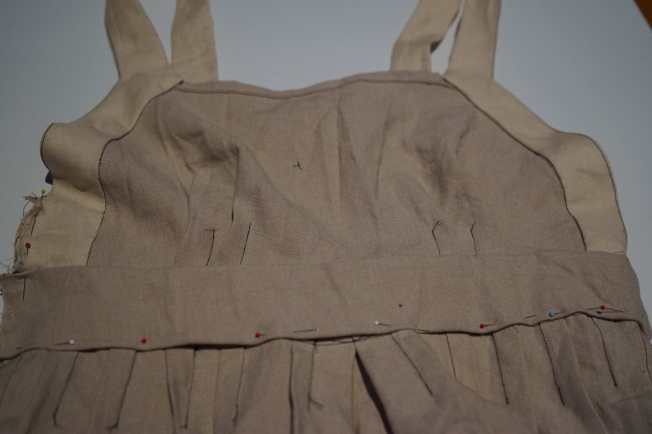
 Press a 1cm SA for the inside front bodice/shoulder strap/back bodice and pin. Slip stitch the inner seam from front bodice, across the shoulder seam and down the back bodice. I’ve forgotten to leave the side seam open on the LHS for the zip here, so just imagine. You can see where I’ve unpicked in a later pic.
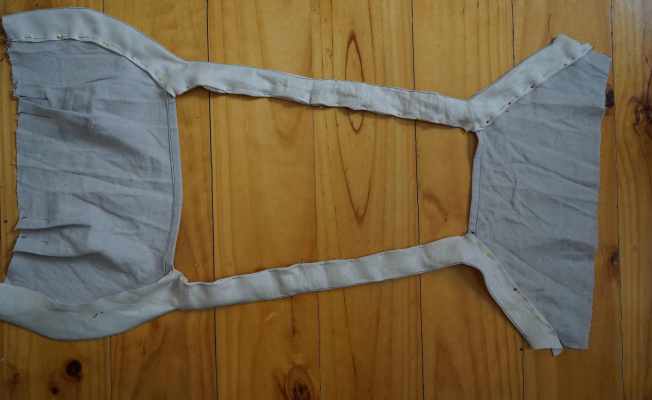


 On LHS of dress, stitch from the hem line up to the zipper marker. I inserted the zipper by hand using the tutorial from
 Make 2 button loops on RHS front bodice. I used the tutorial by


 Someone in G-Town had the inspirational idea to introduce street art to liven up some of the darker alleyways and spaces that detracted from what can only be described as a decrepit central area. This beautiful graffiti has been on my location list for some time and on a whim yesterday I hauled the family away from the couch to capture these images.


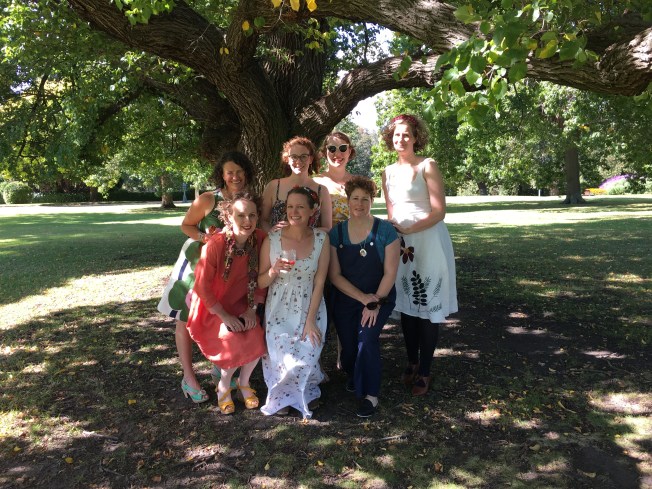
 The second annual Sew Melbourne garden party was held recently at the Melbourne Botanical Gardens on a day that complimented the frocks and frivolities. The sun shone, the weather was quite temperate and the music most fitting.


