When Regent Street Fabrics invited me to participate in the 2026 Liberty Showcase celebrating the Spring/Summer 2026 Floral Rebellion collection, I genuinely had to pause and take it in. What an honour.
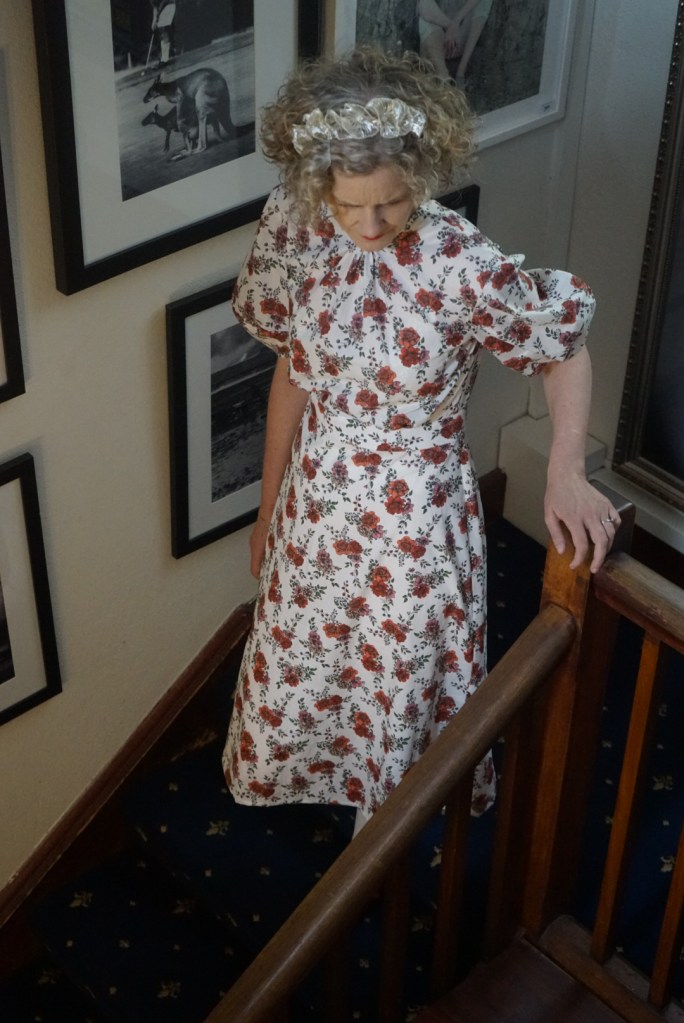
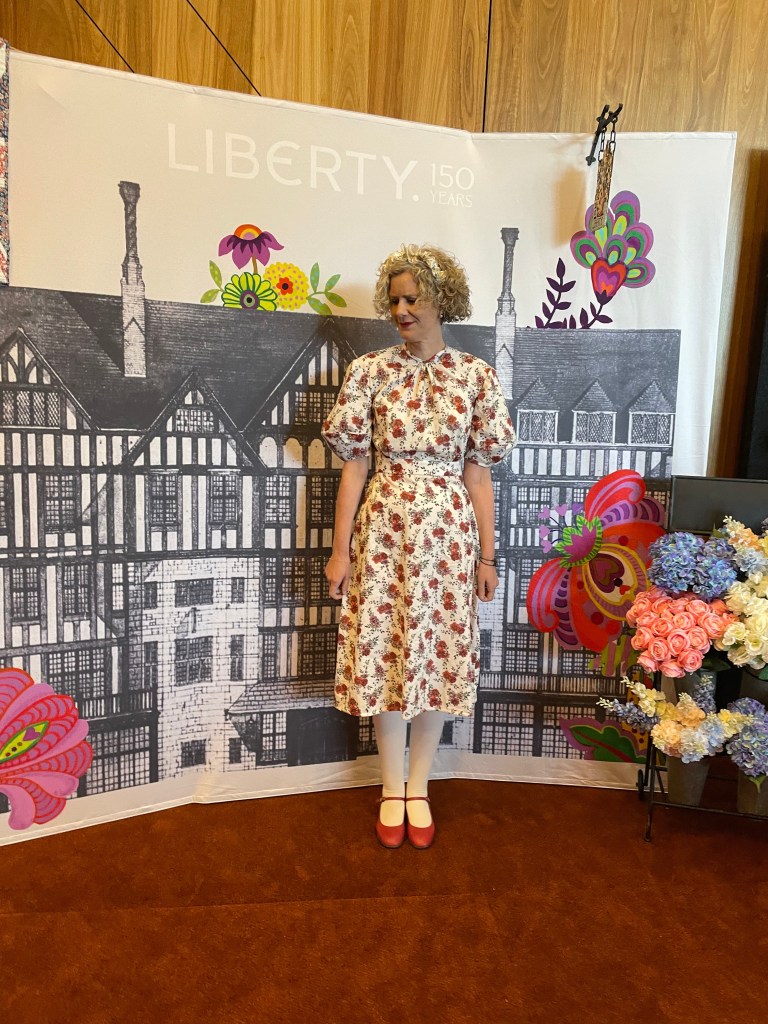
Anyone who knows me knows how deeply I adore Liberty fabrics — their history, their artistry, their ability to make every garment feel a little bit special. So to be asked to create a piece and walk the runway in front of 600 people at the Melbourne Exhibition Centre on Valentine’s Day felt both surreal and incredibly flattering.
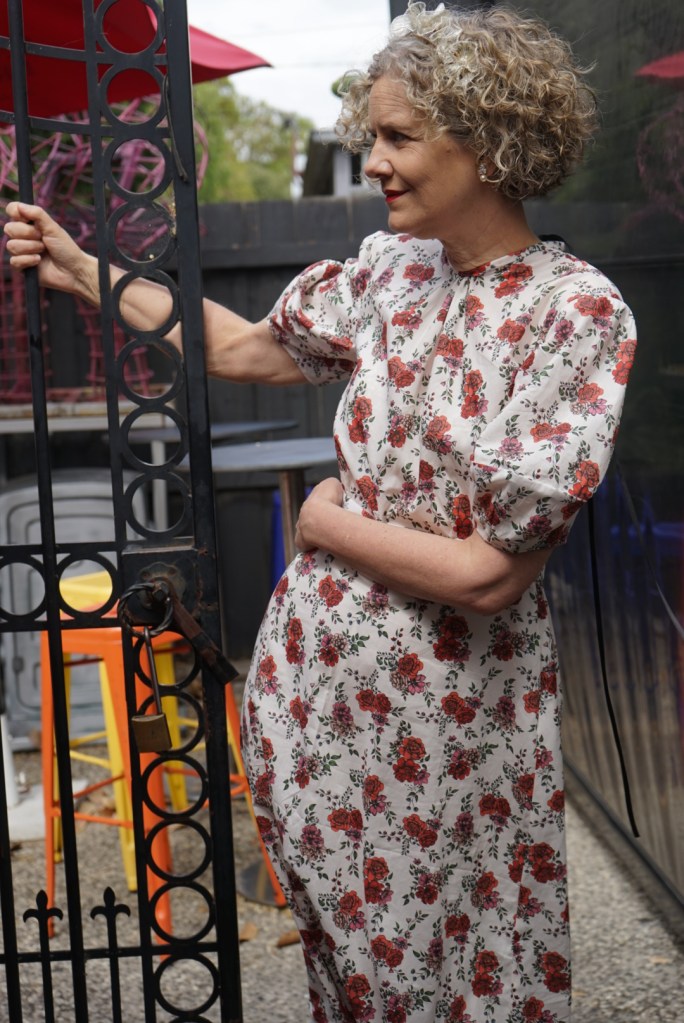
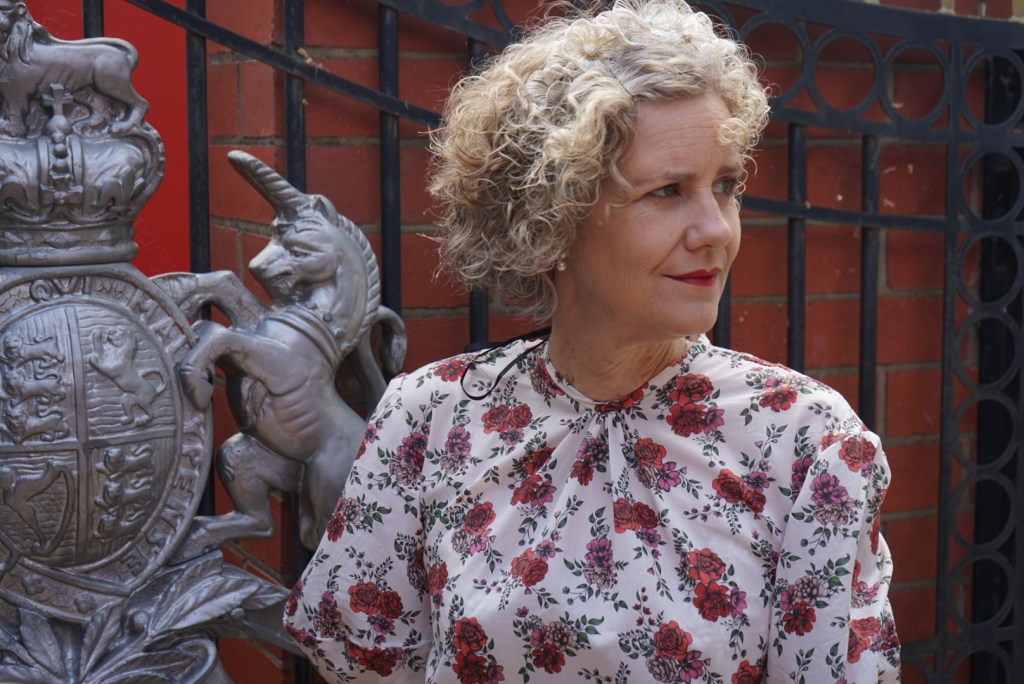
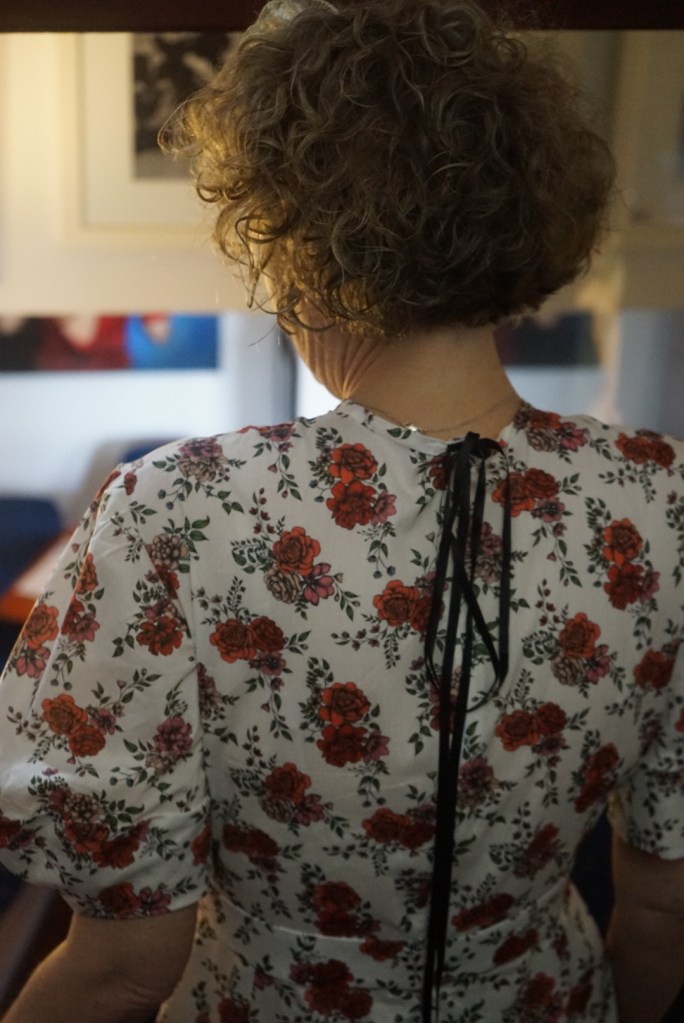
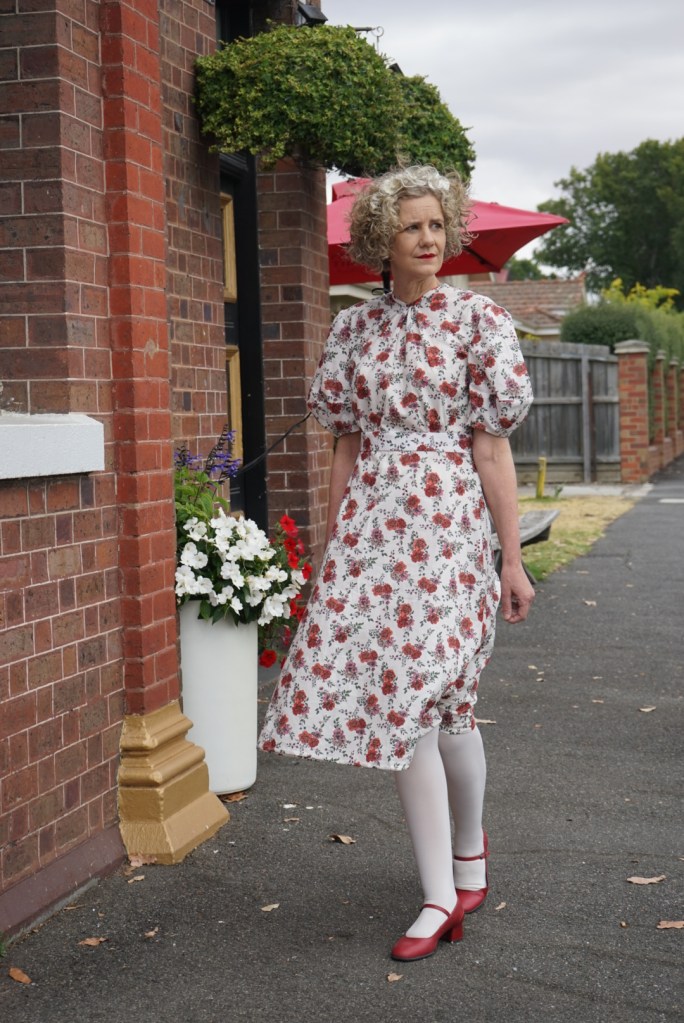
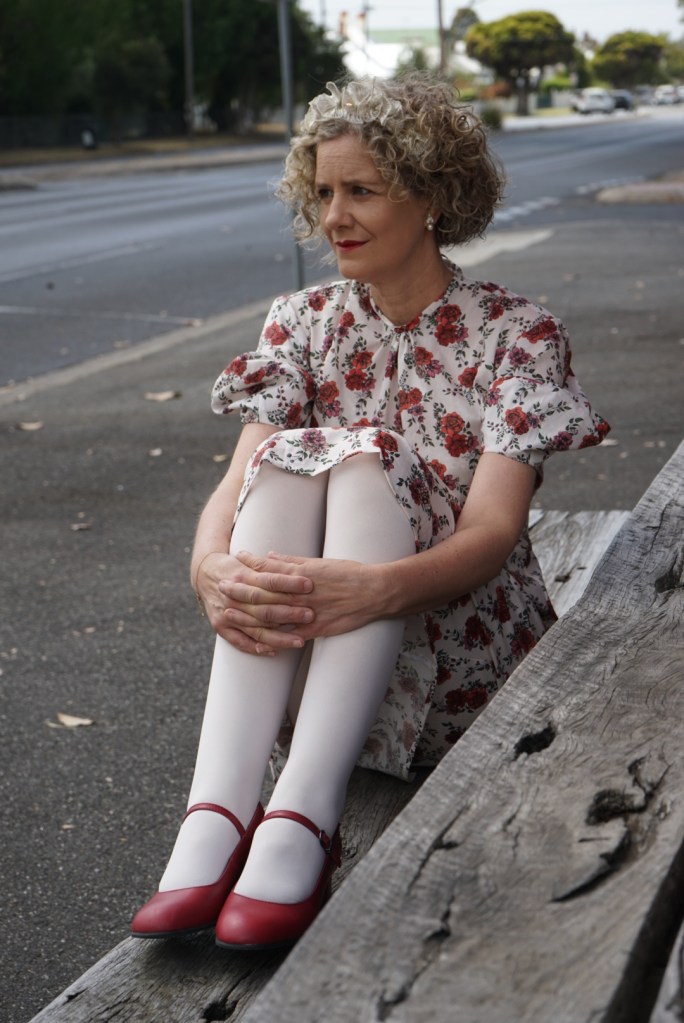
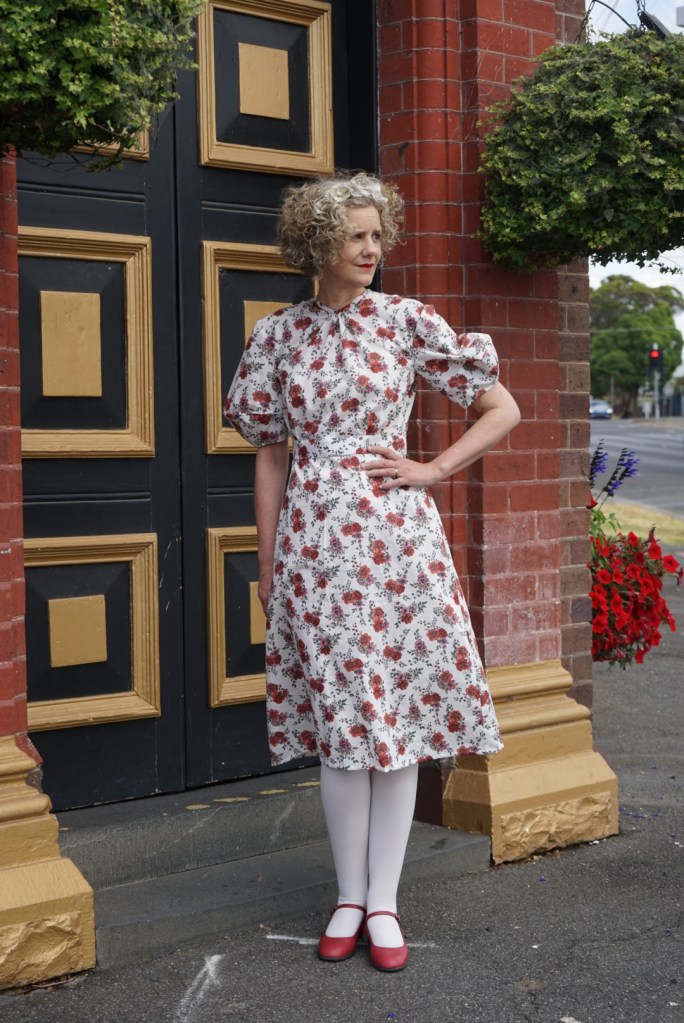
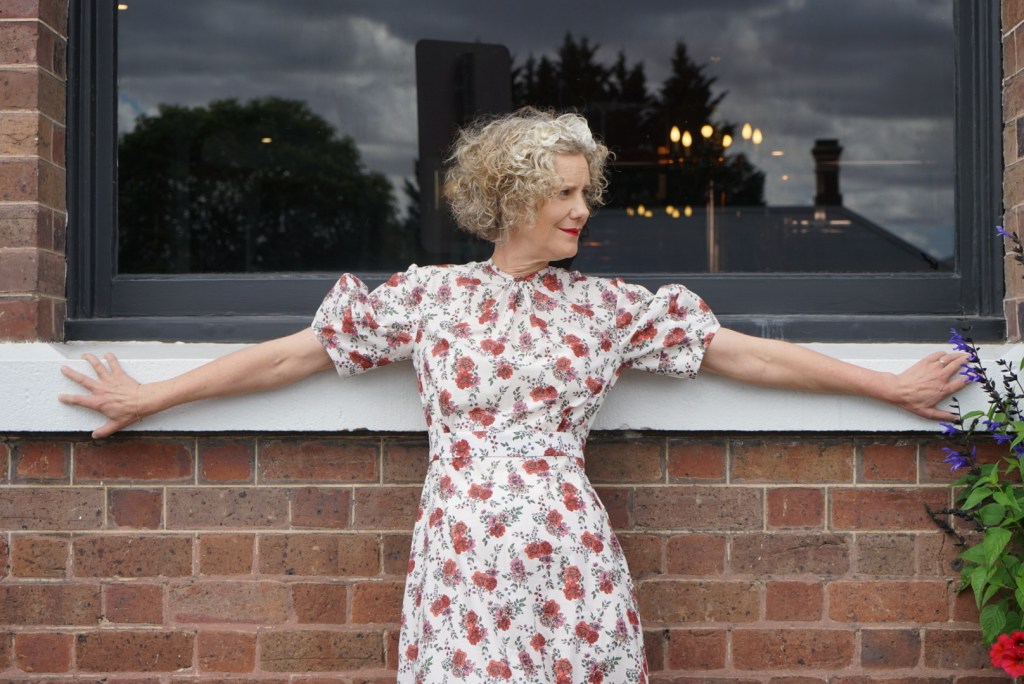
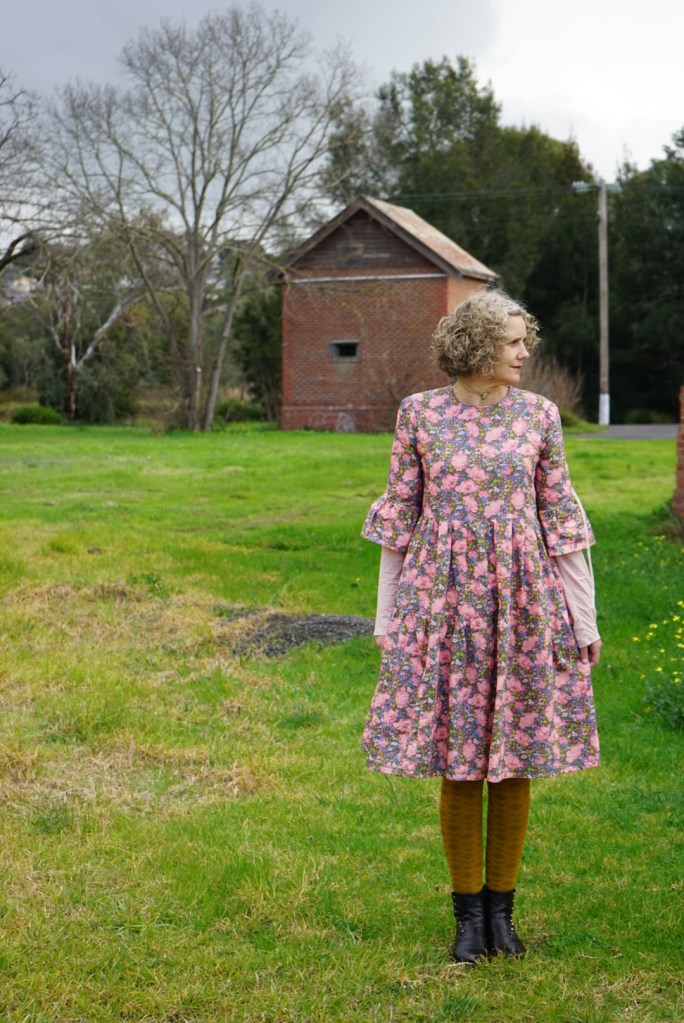
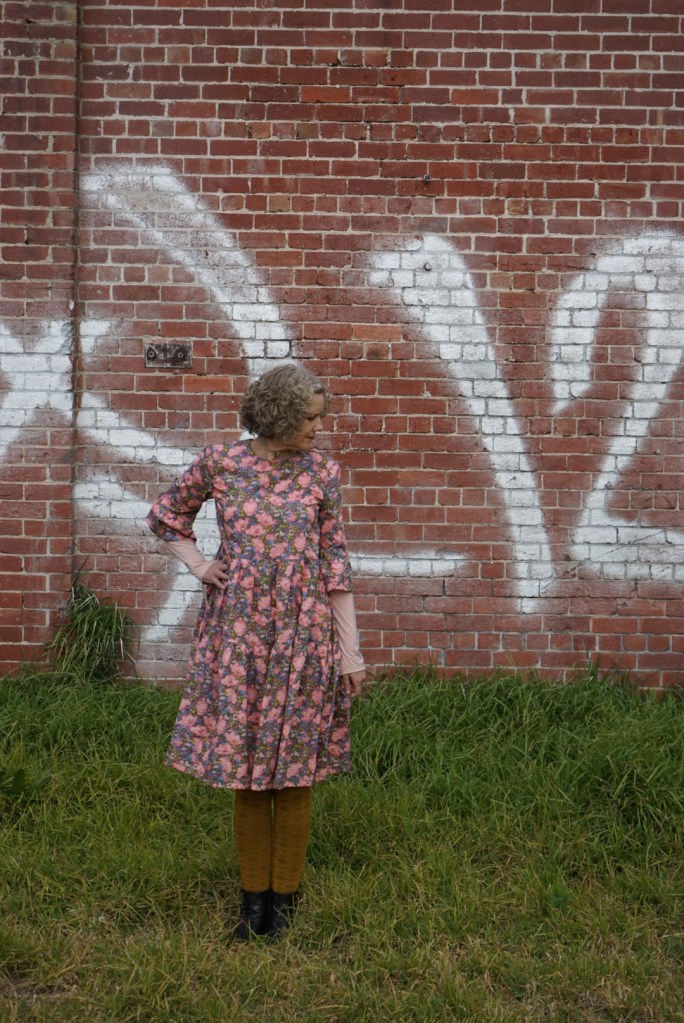
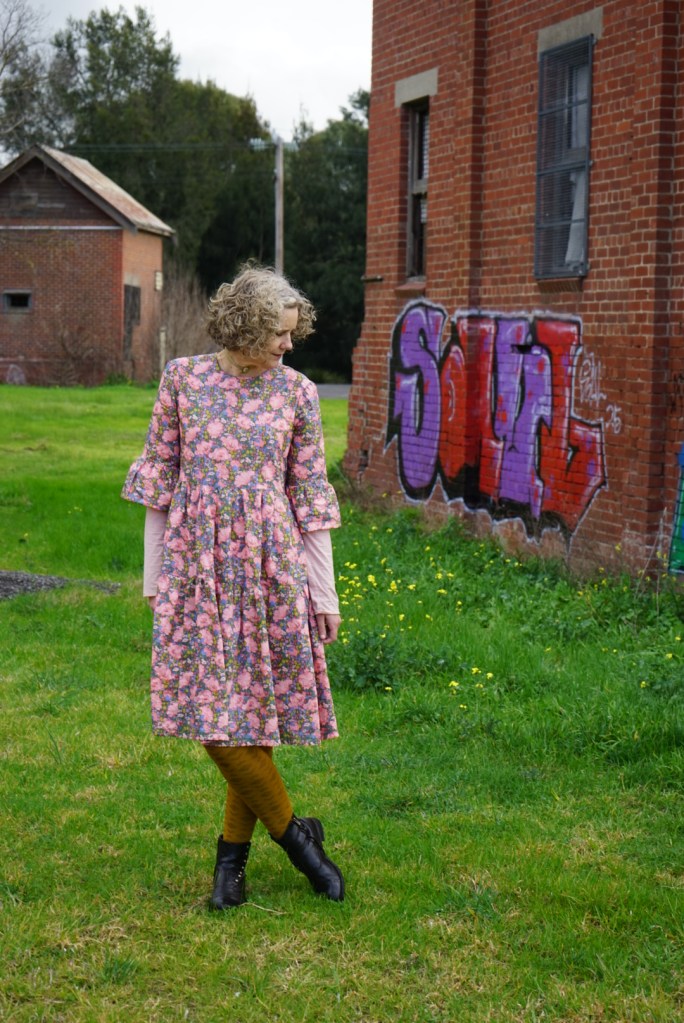
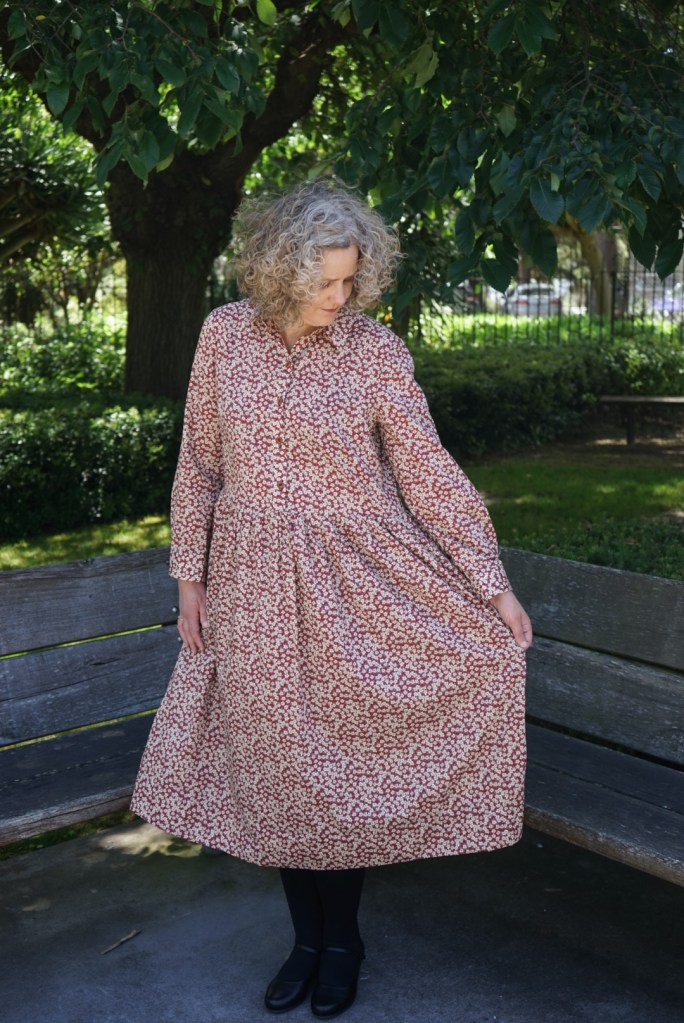
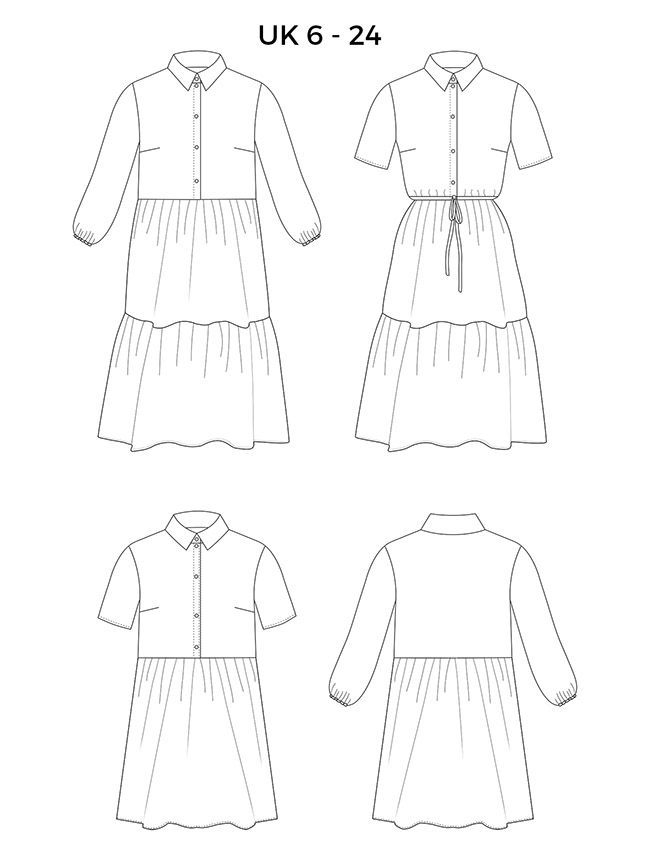
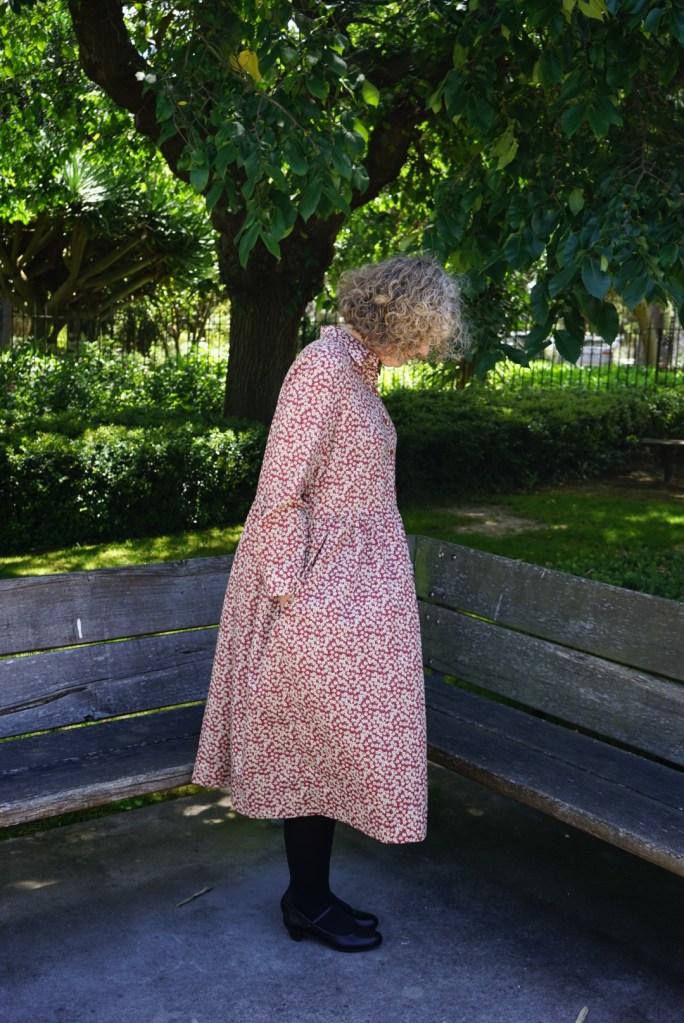
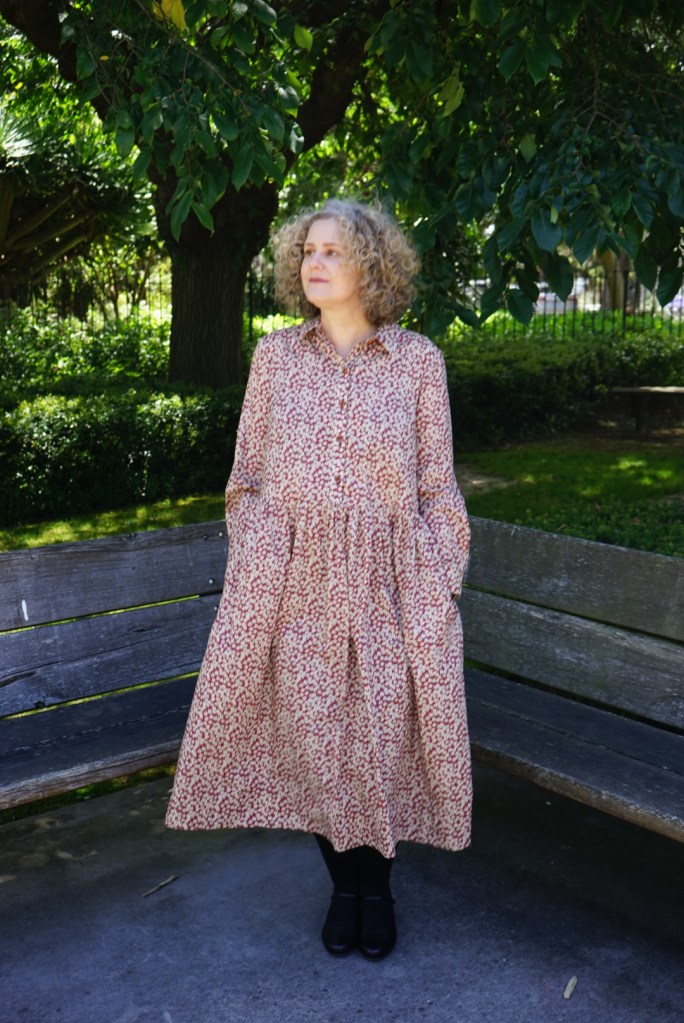
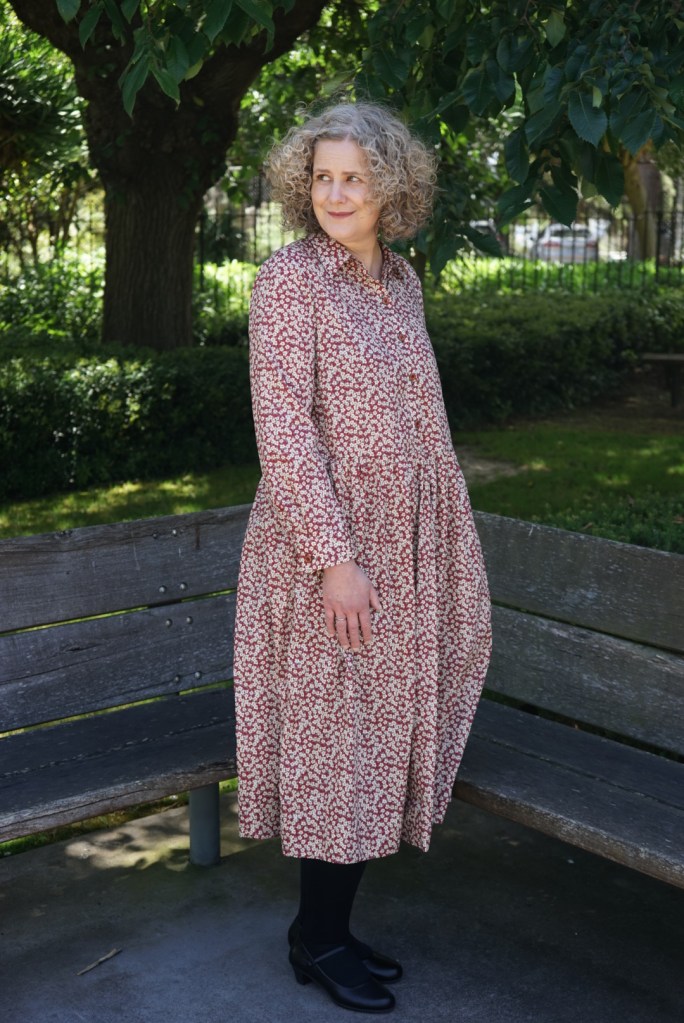
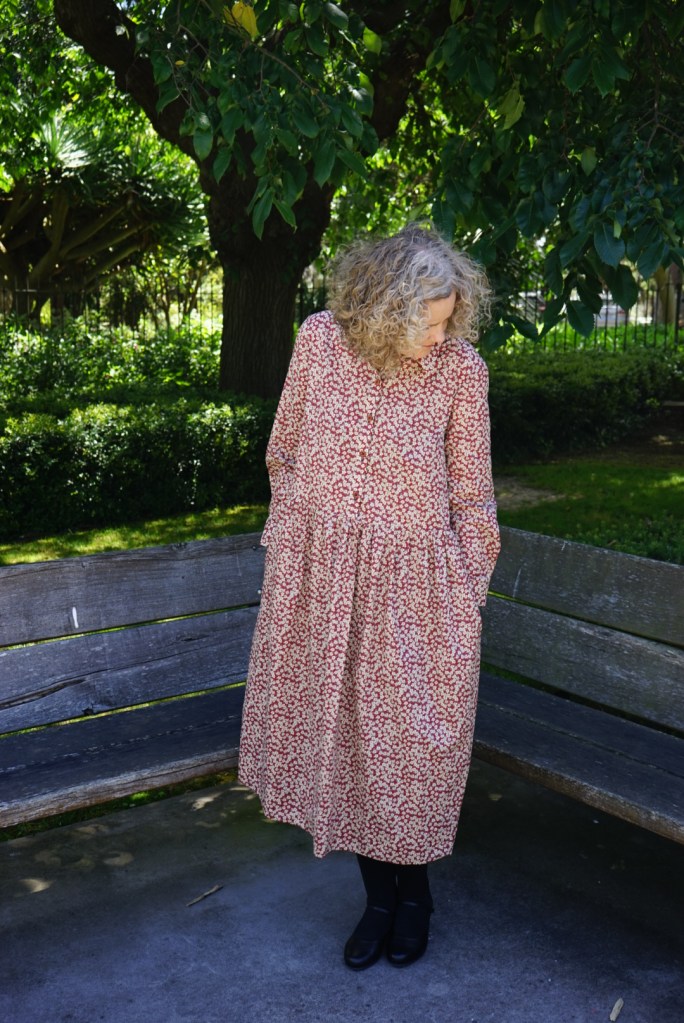
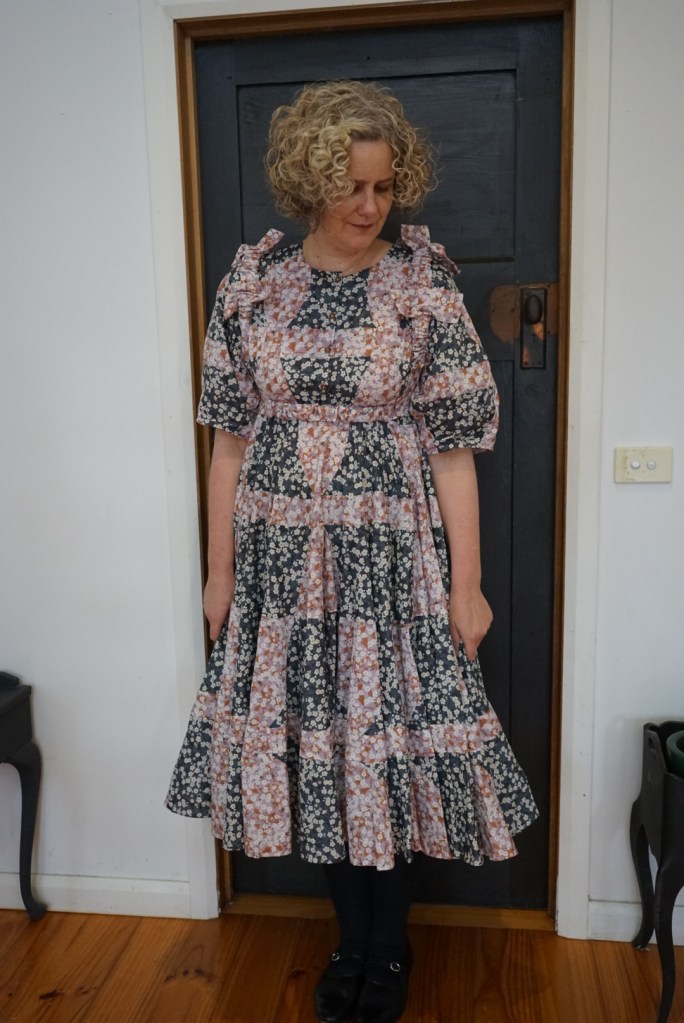
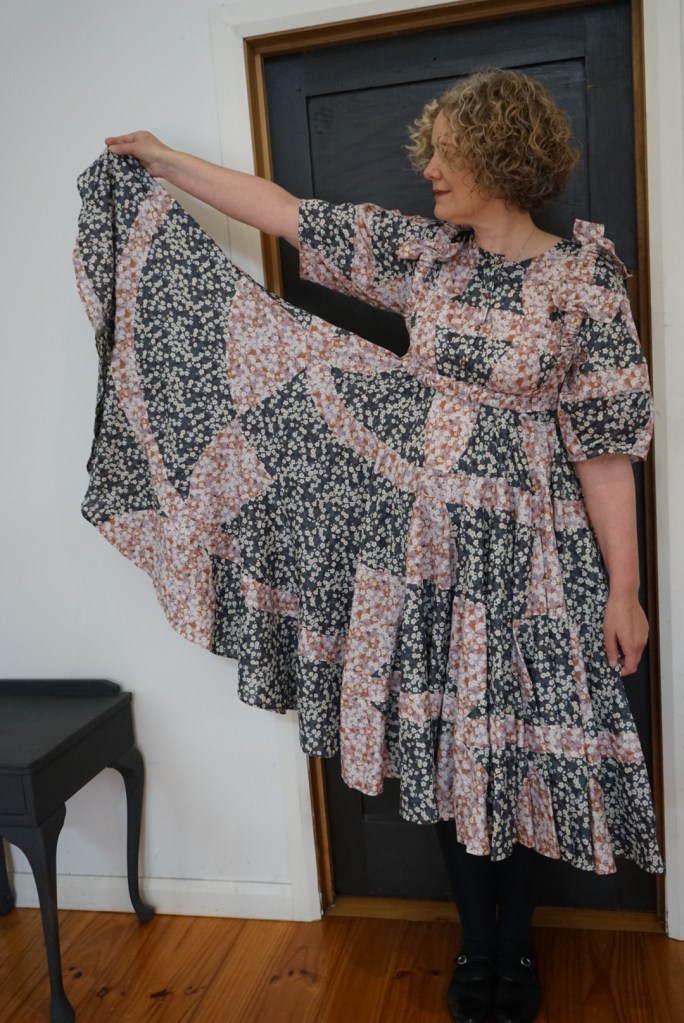
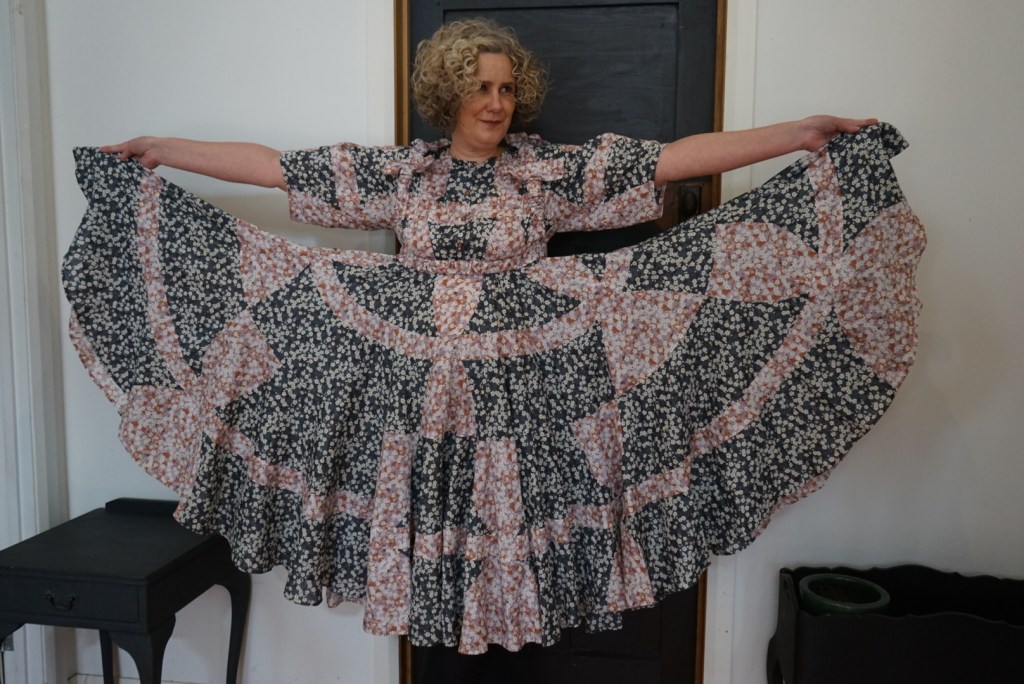
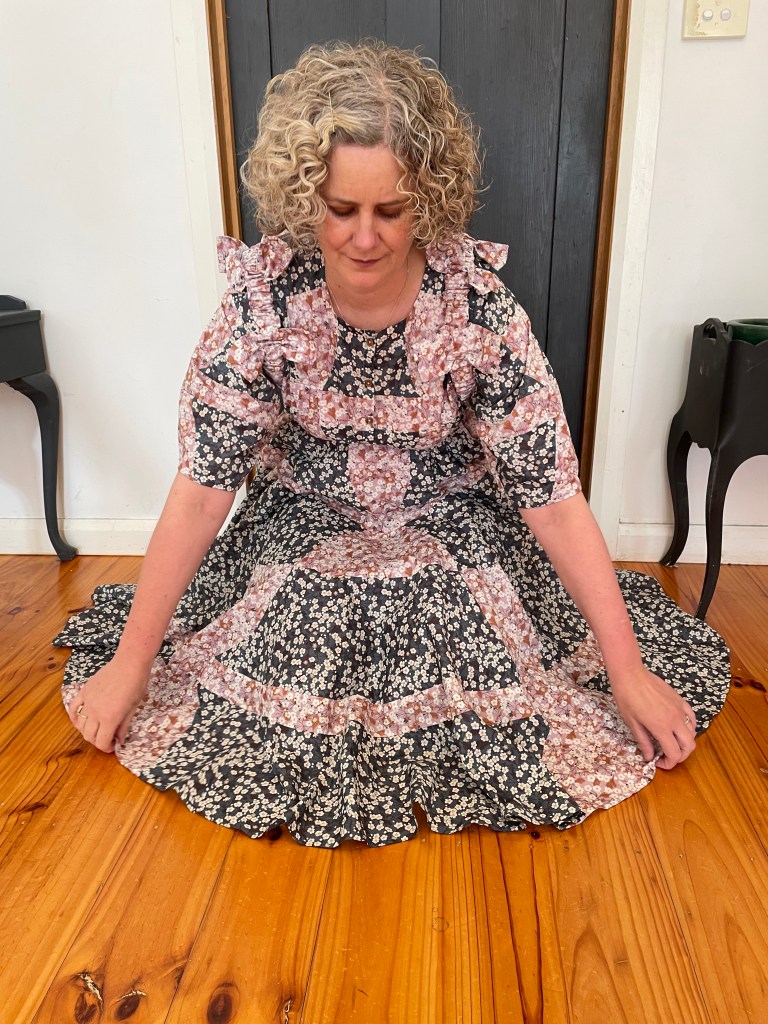
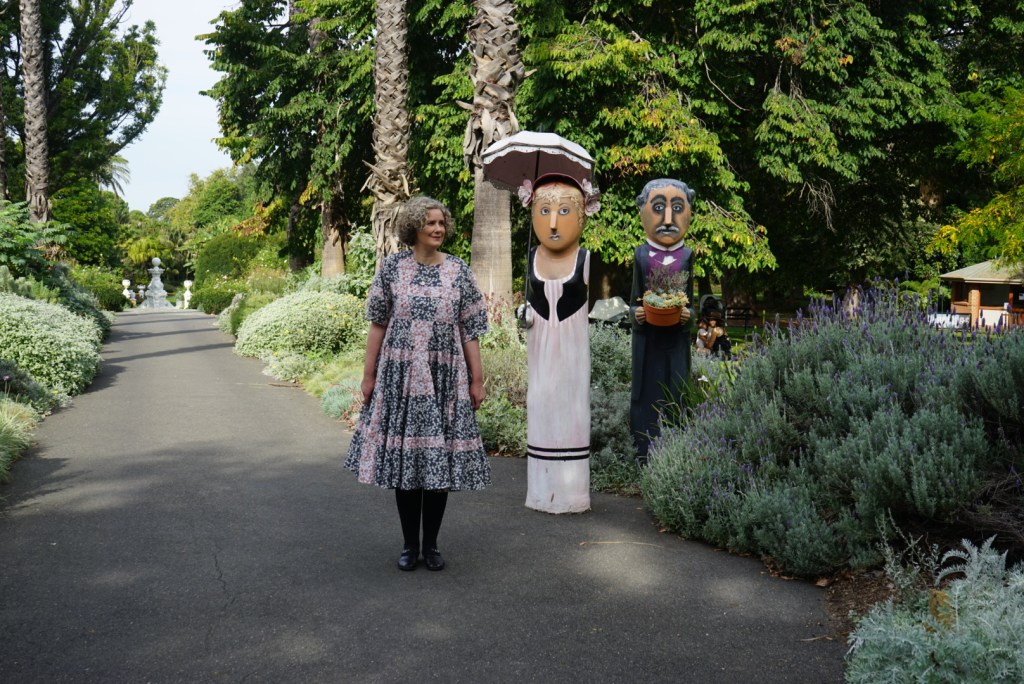
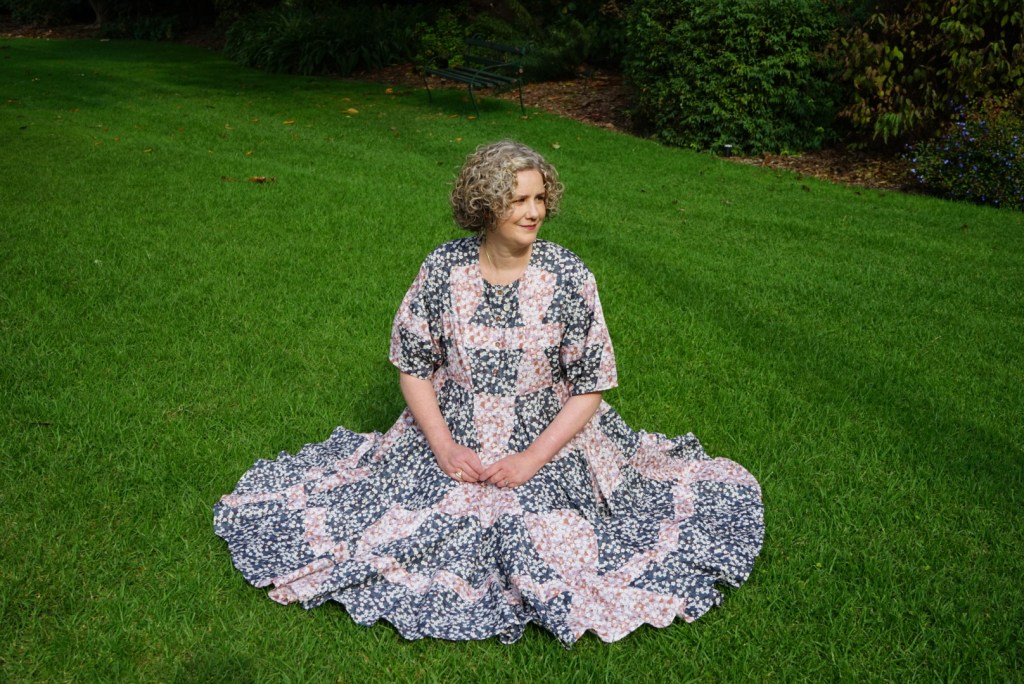
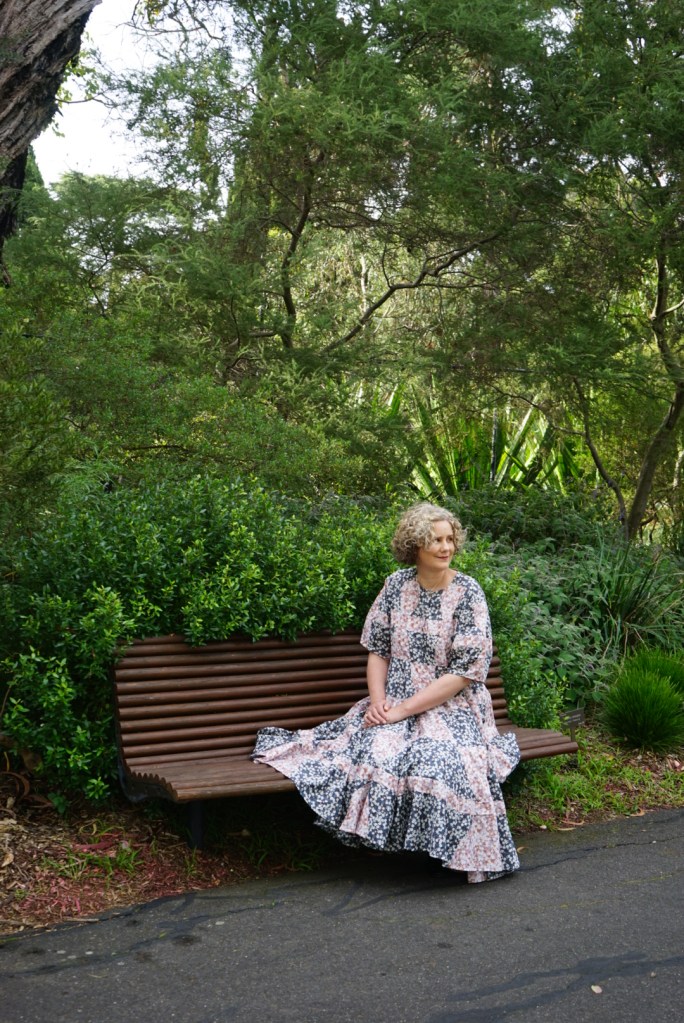
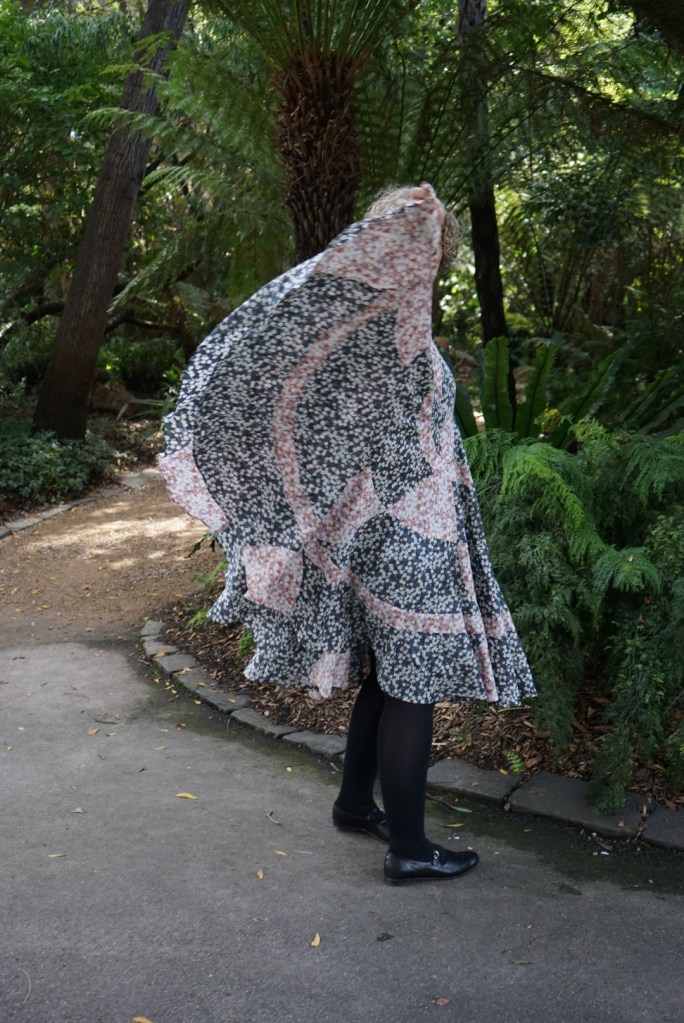
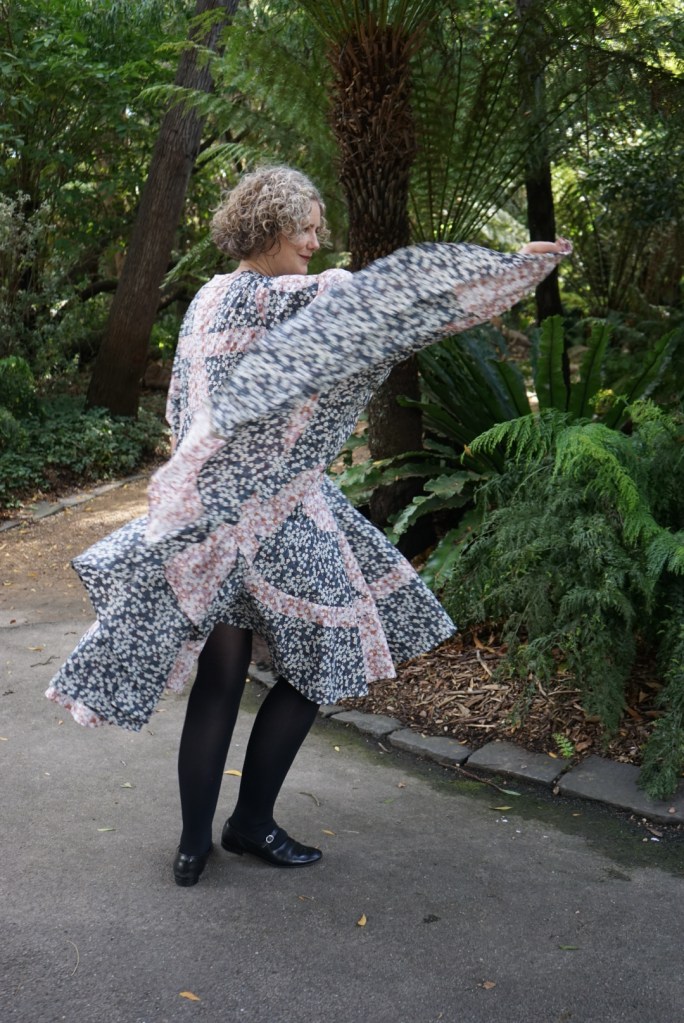
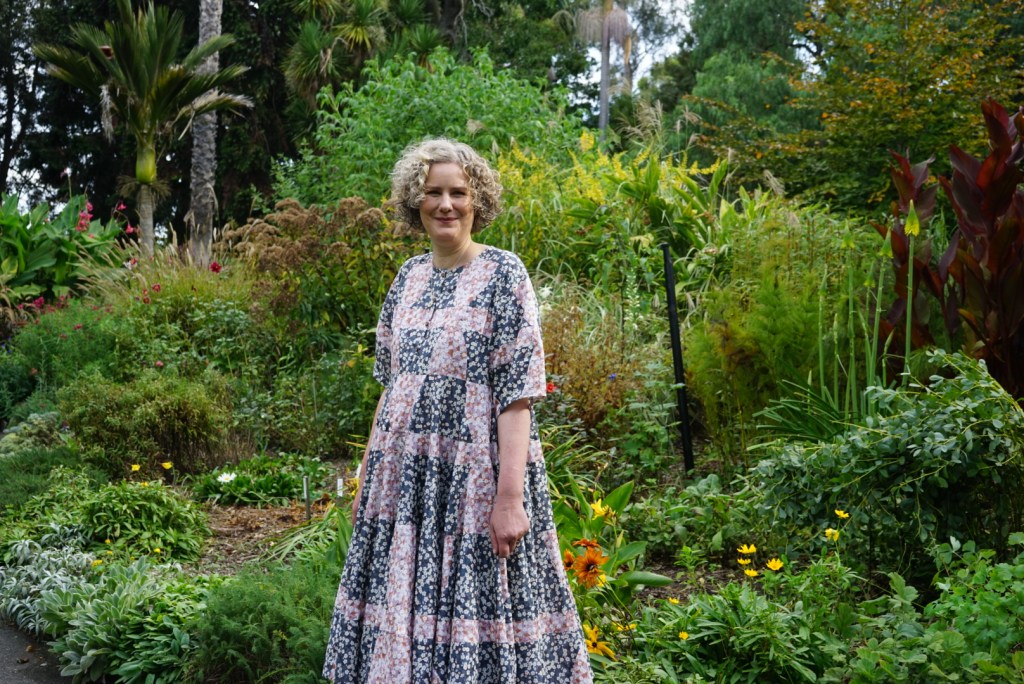
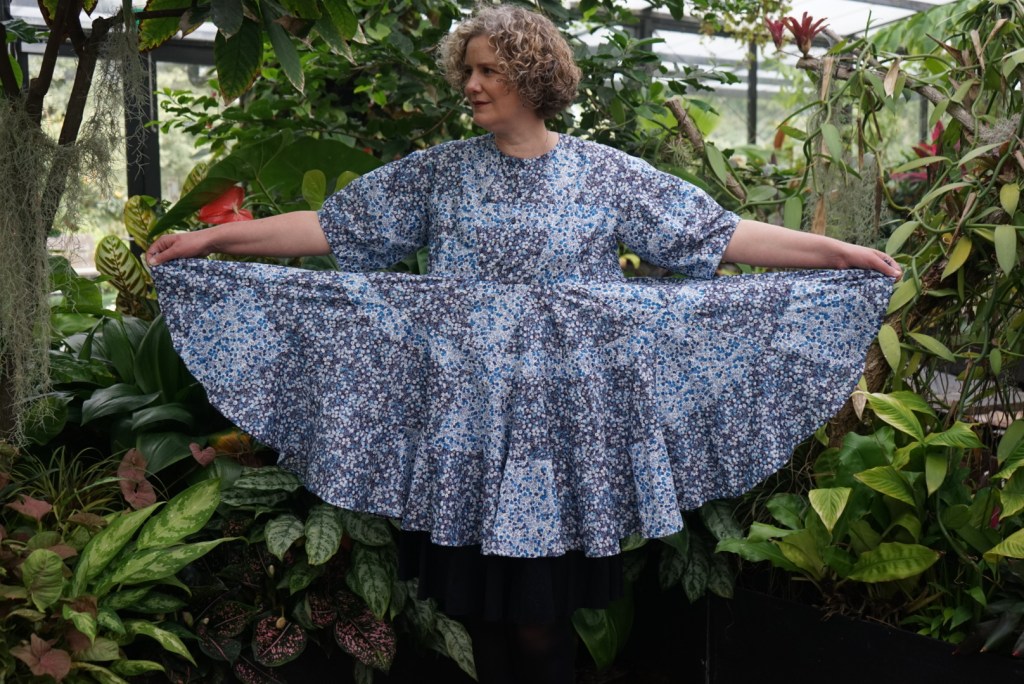
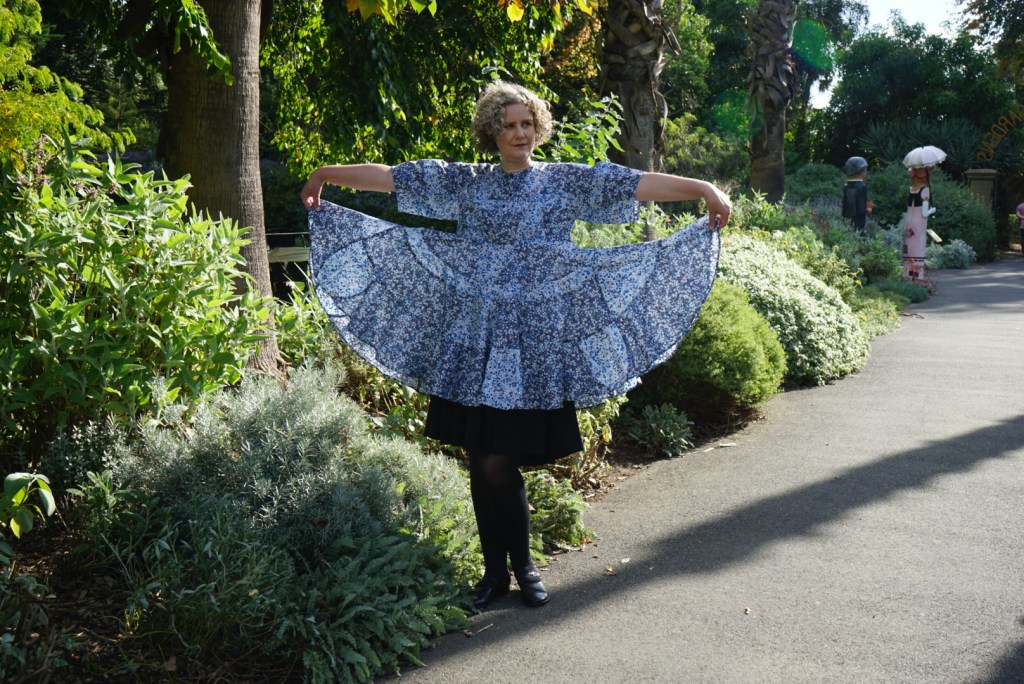
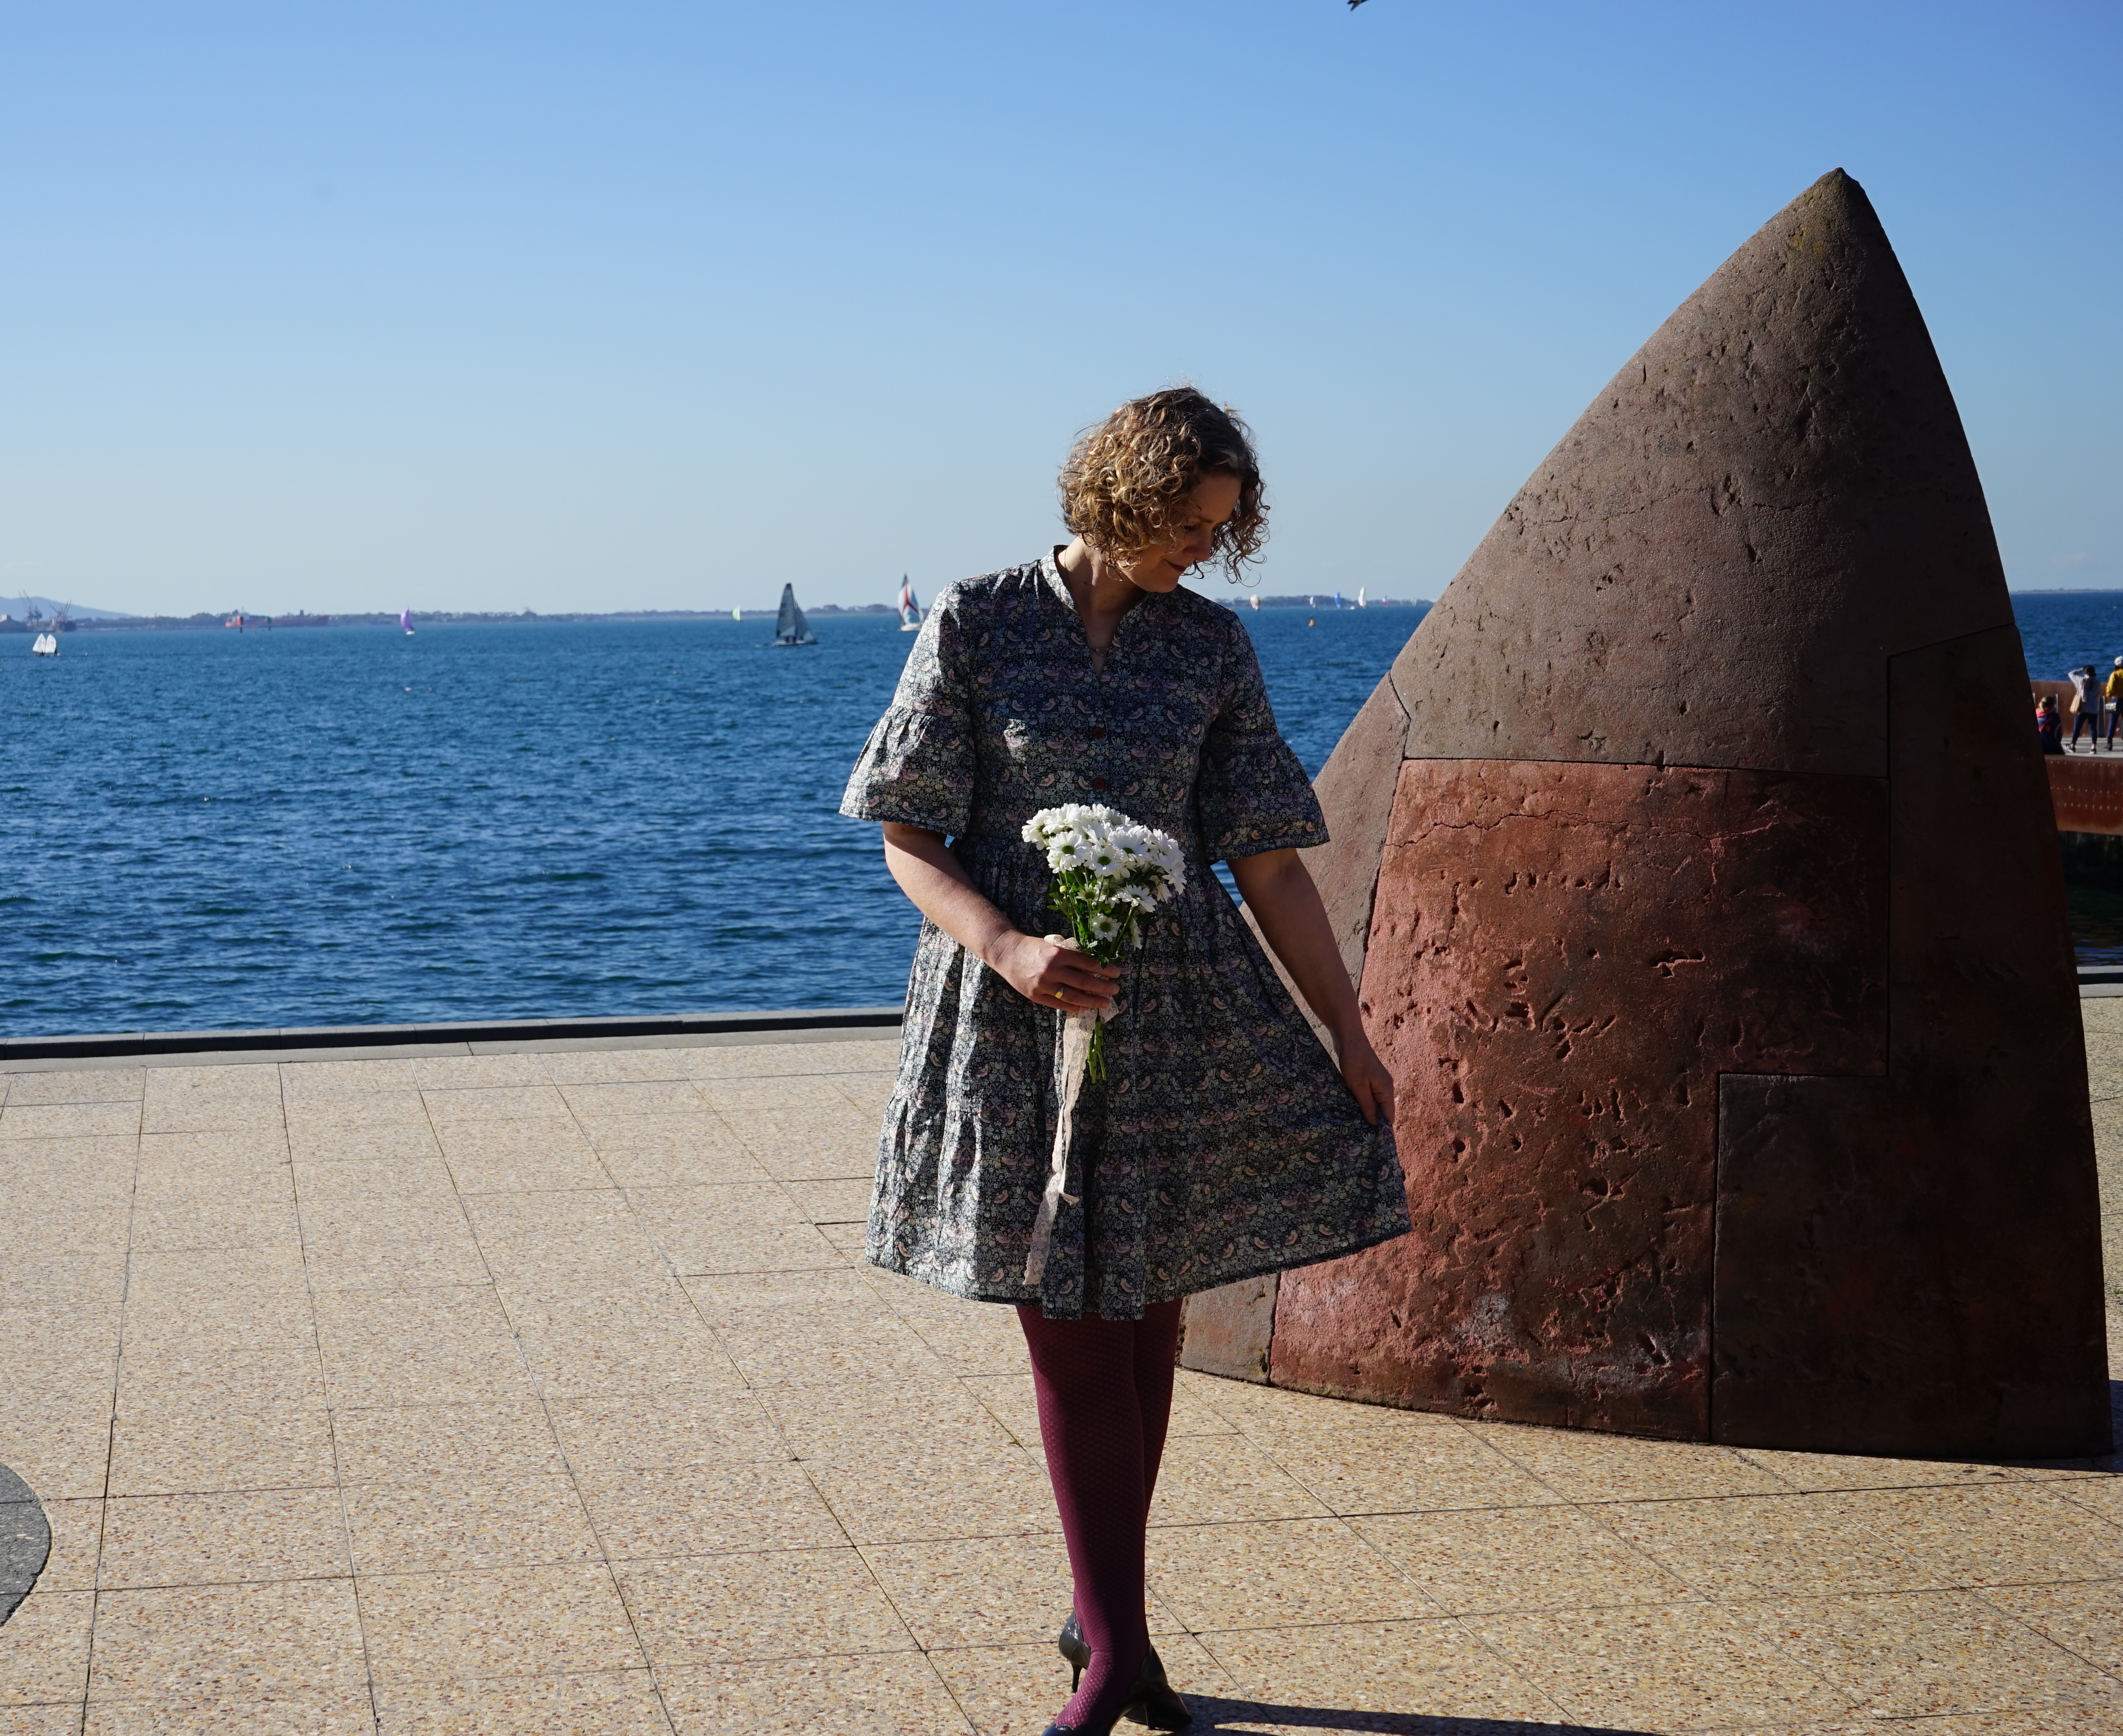
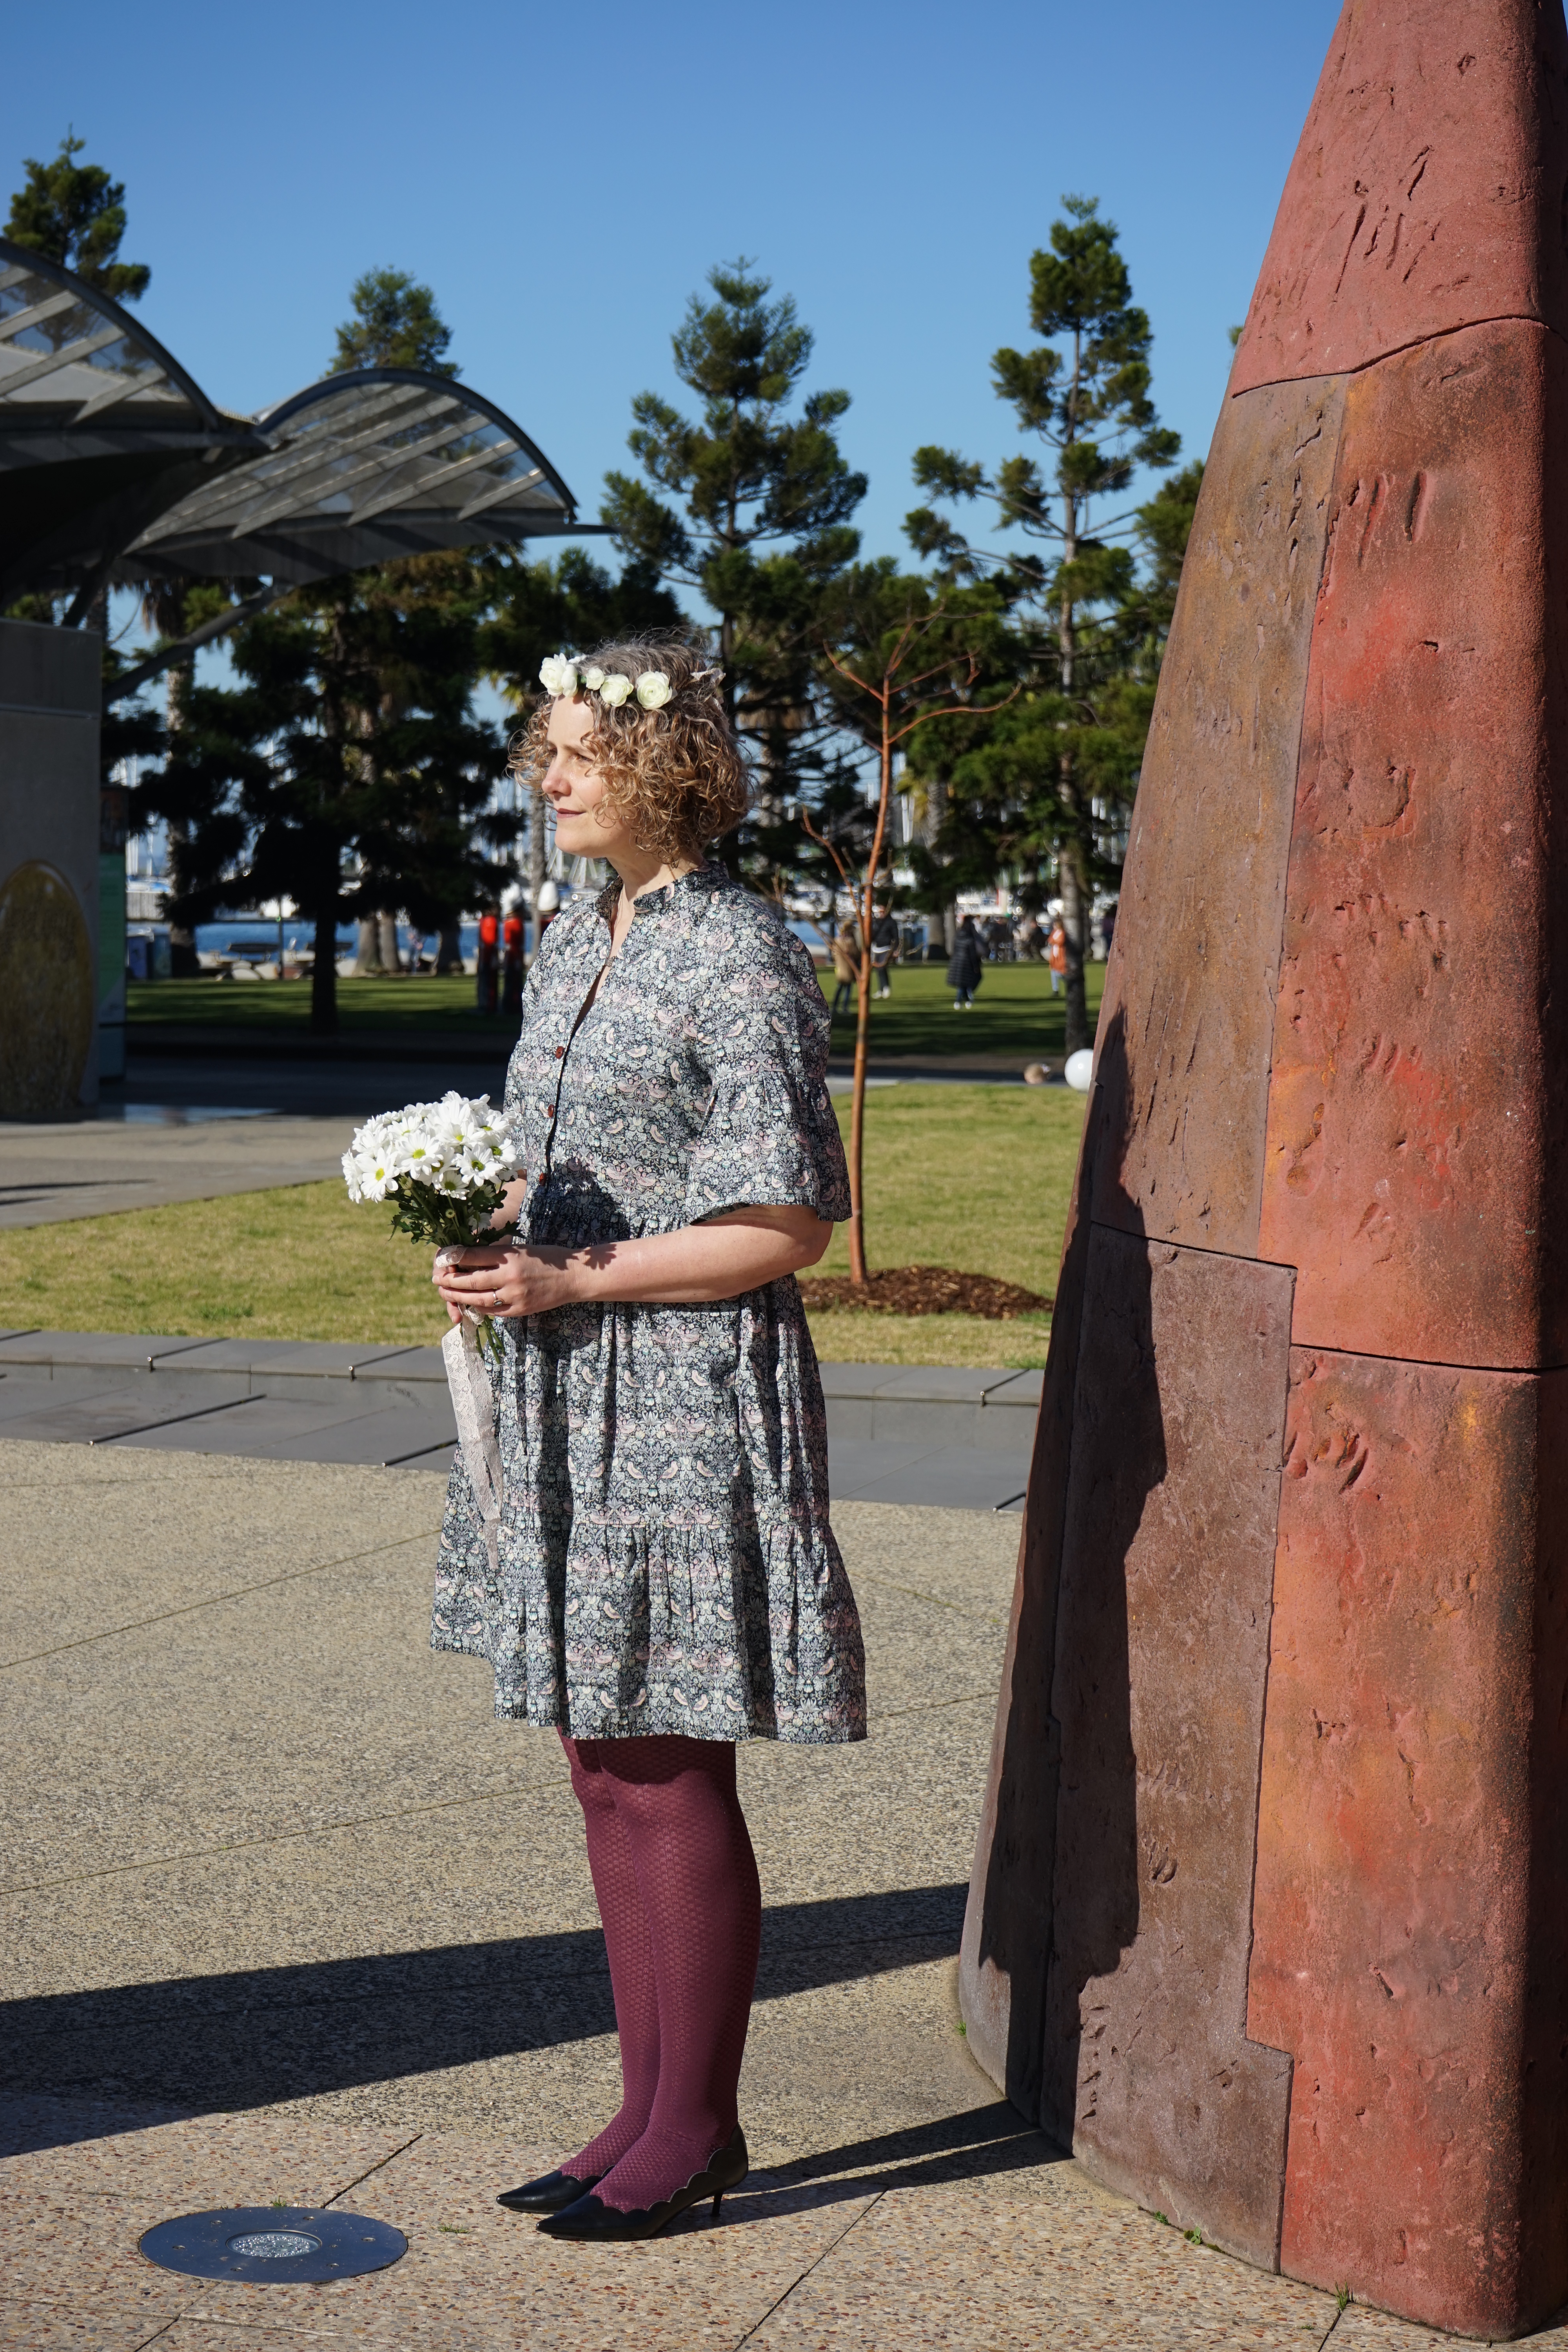
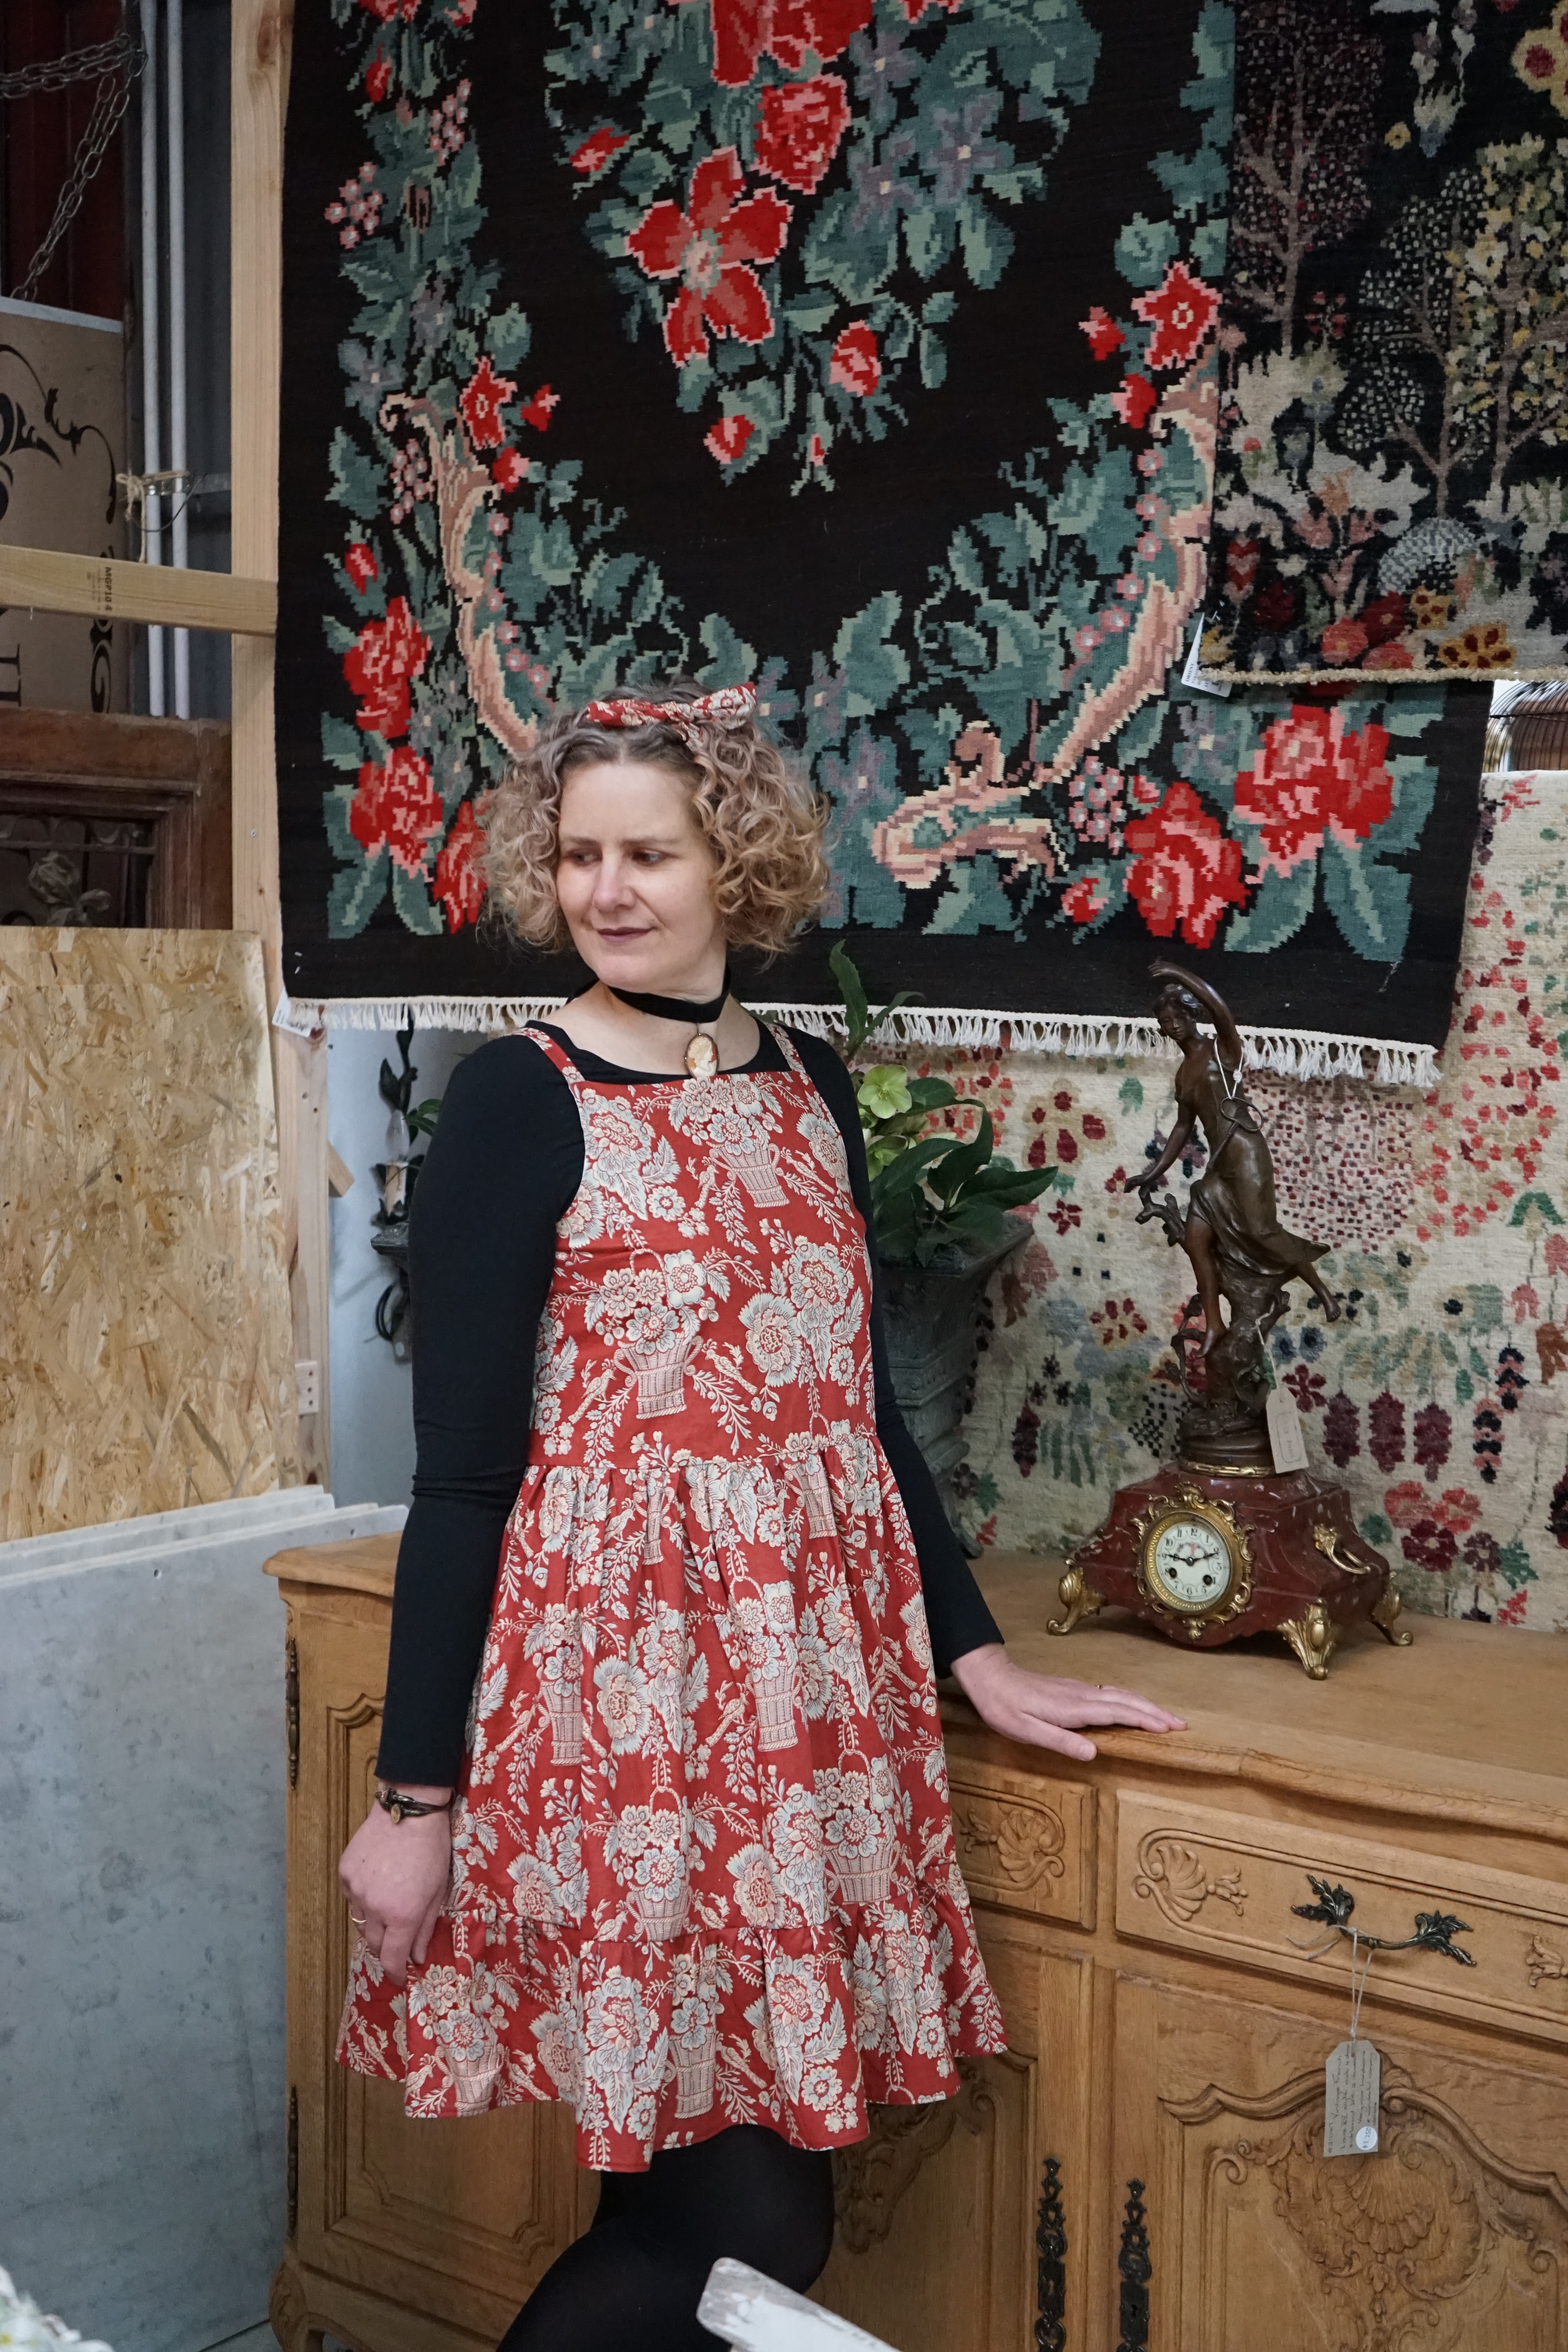
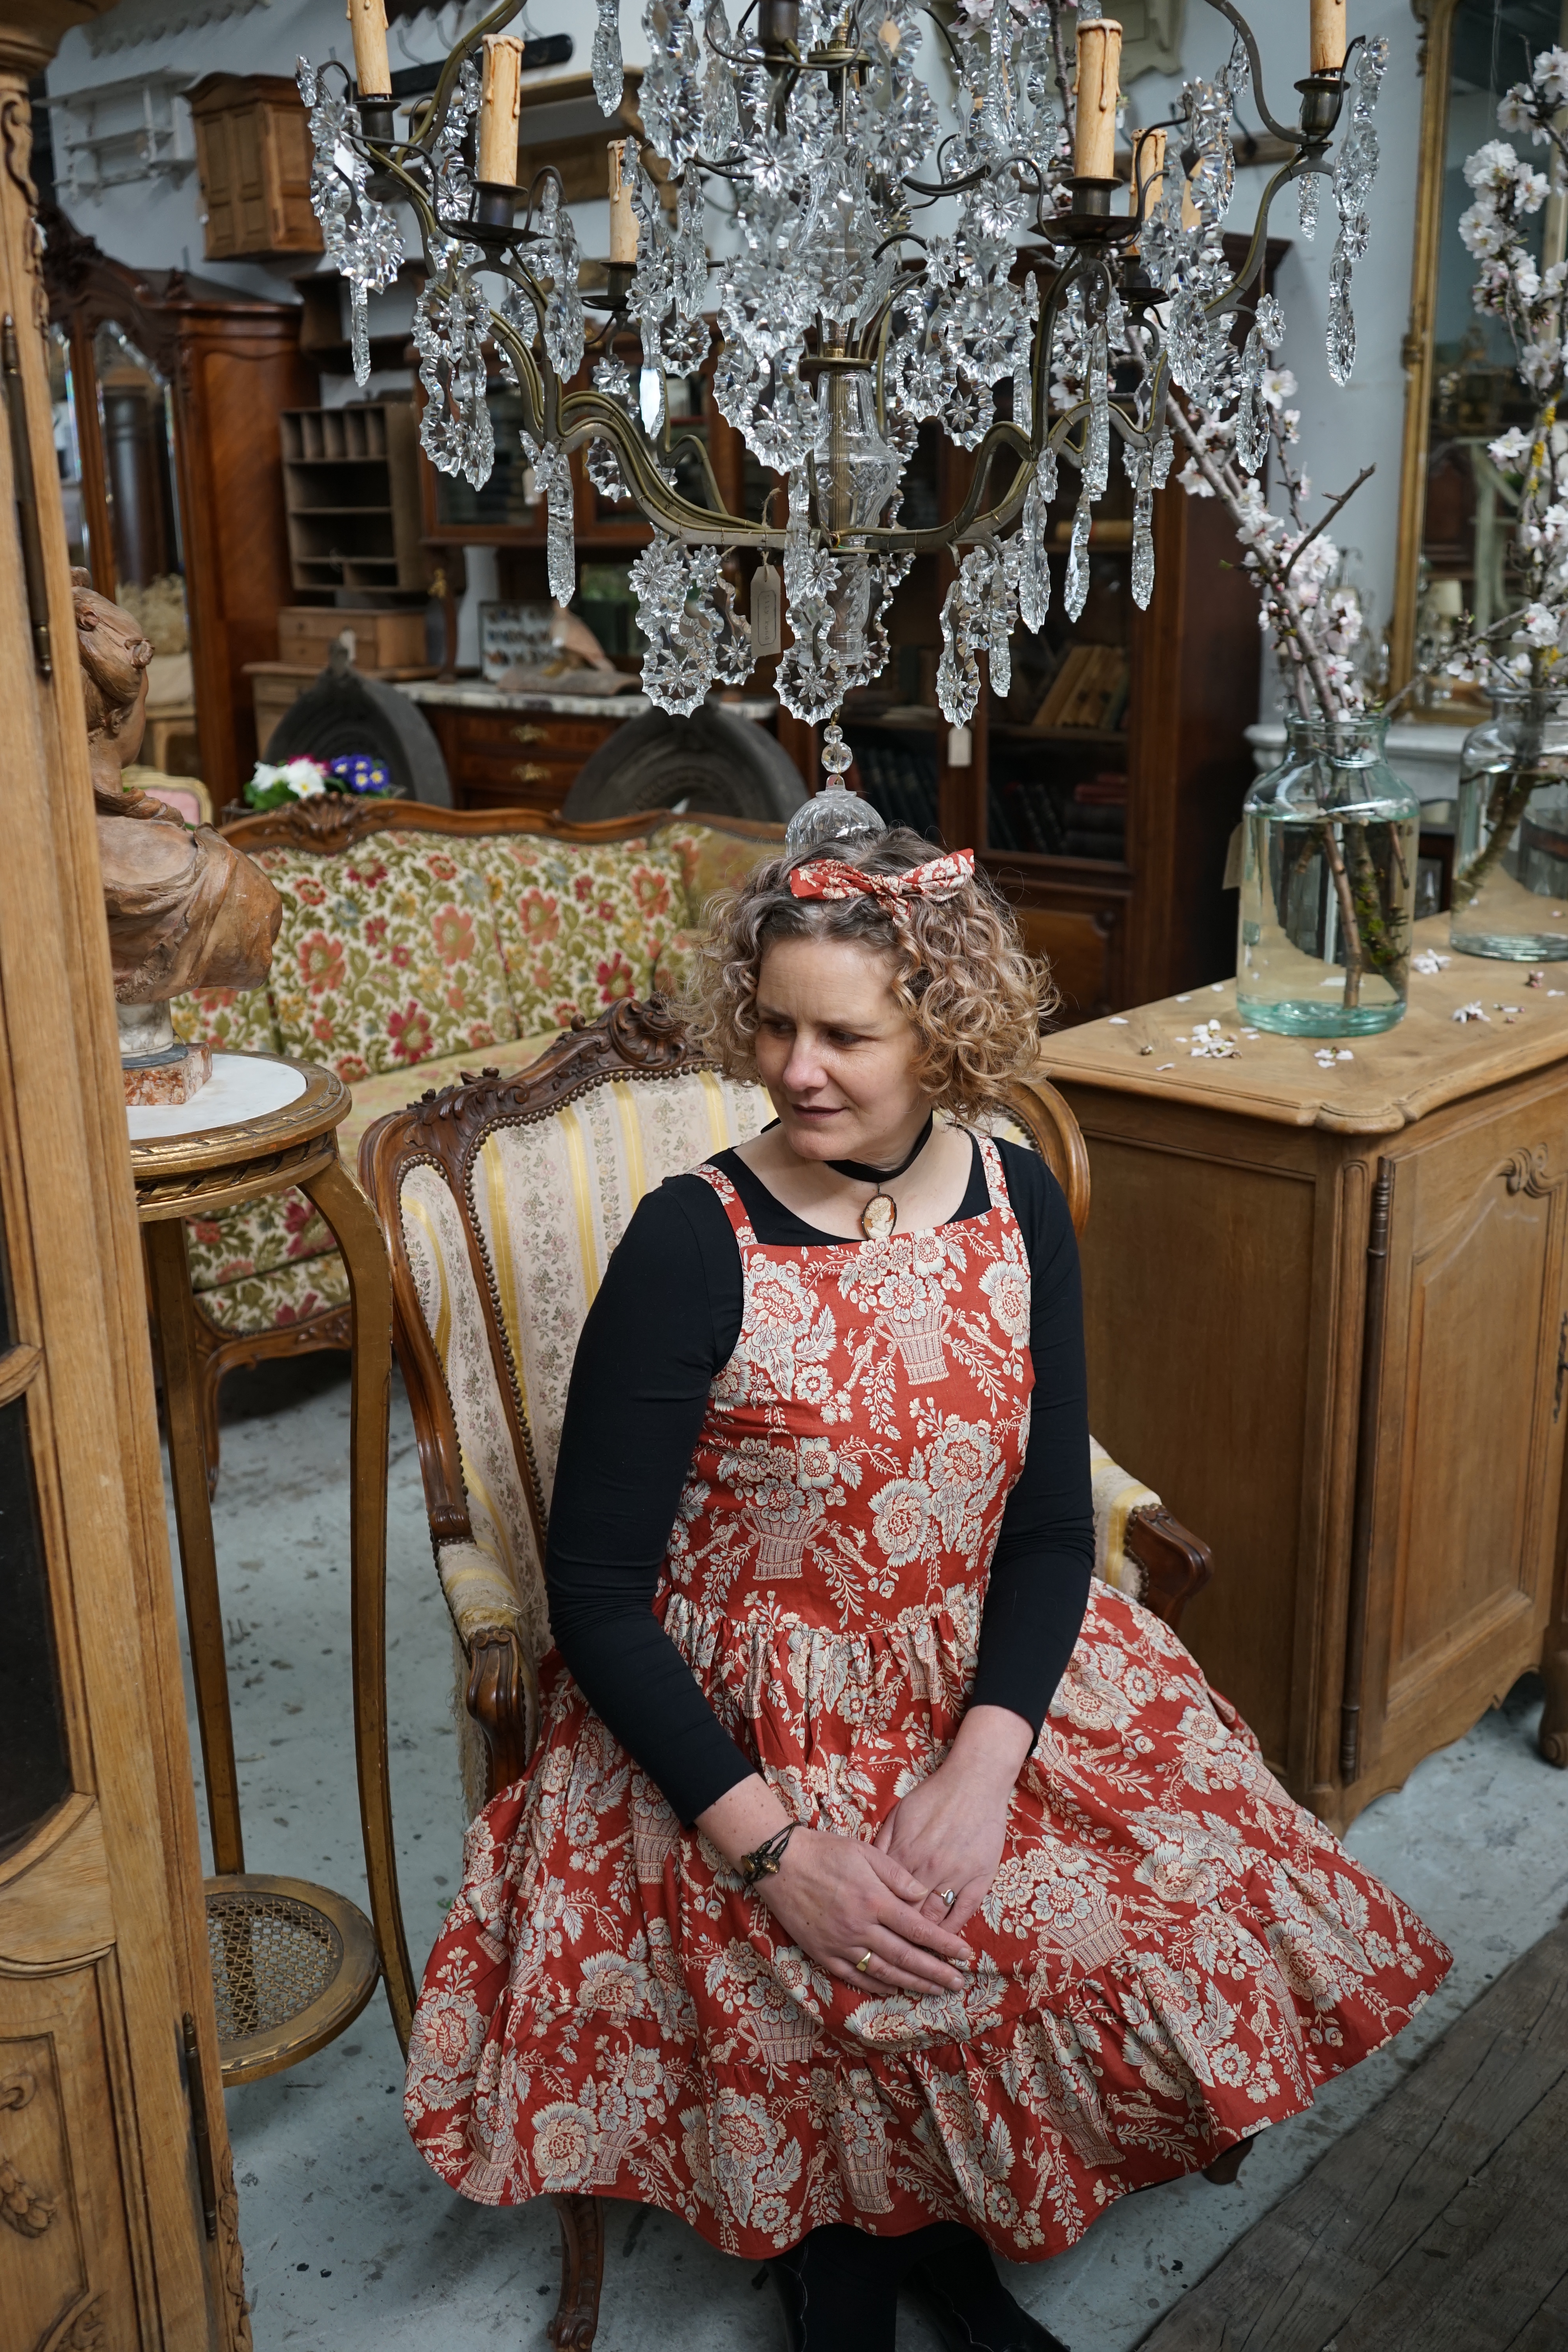
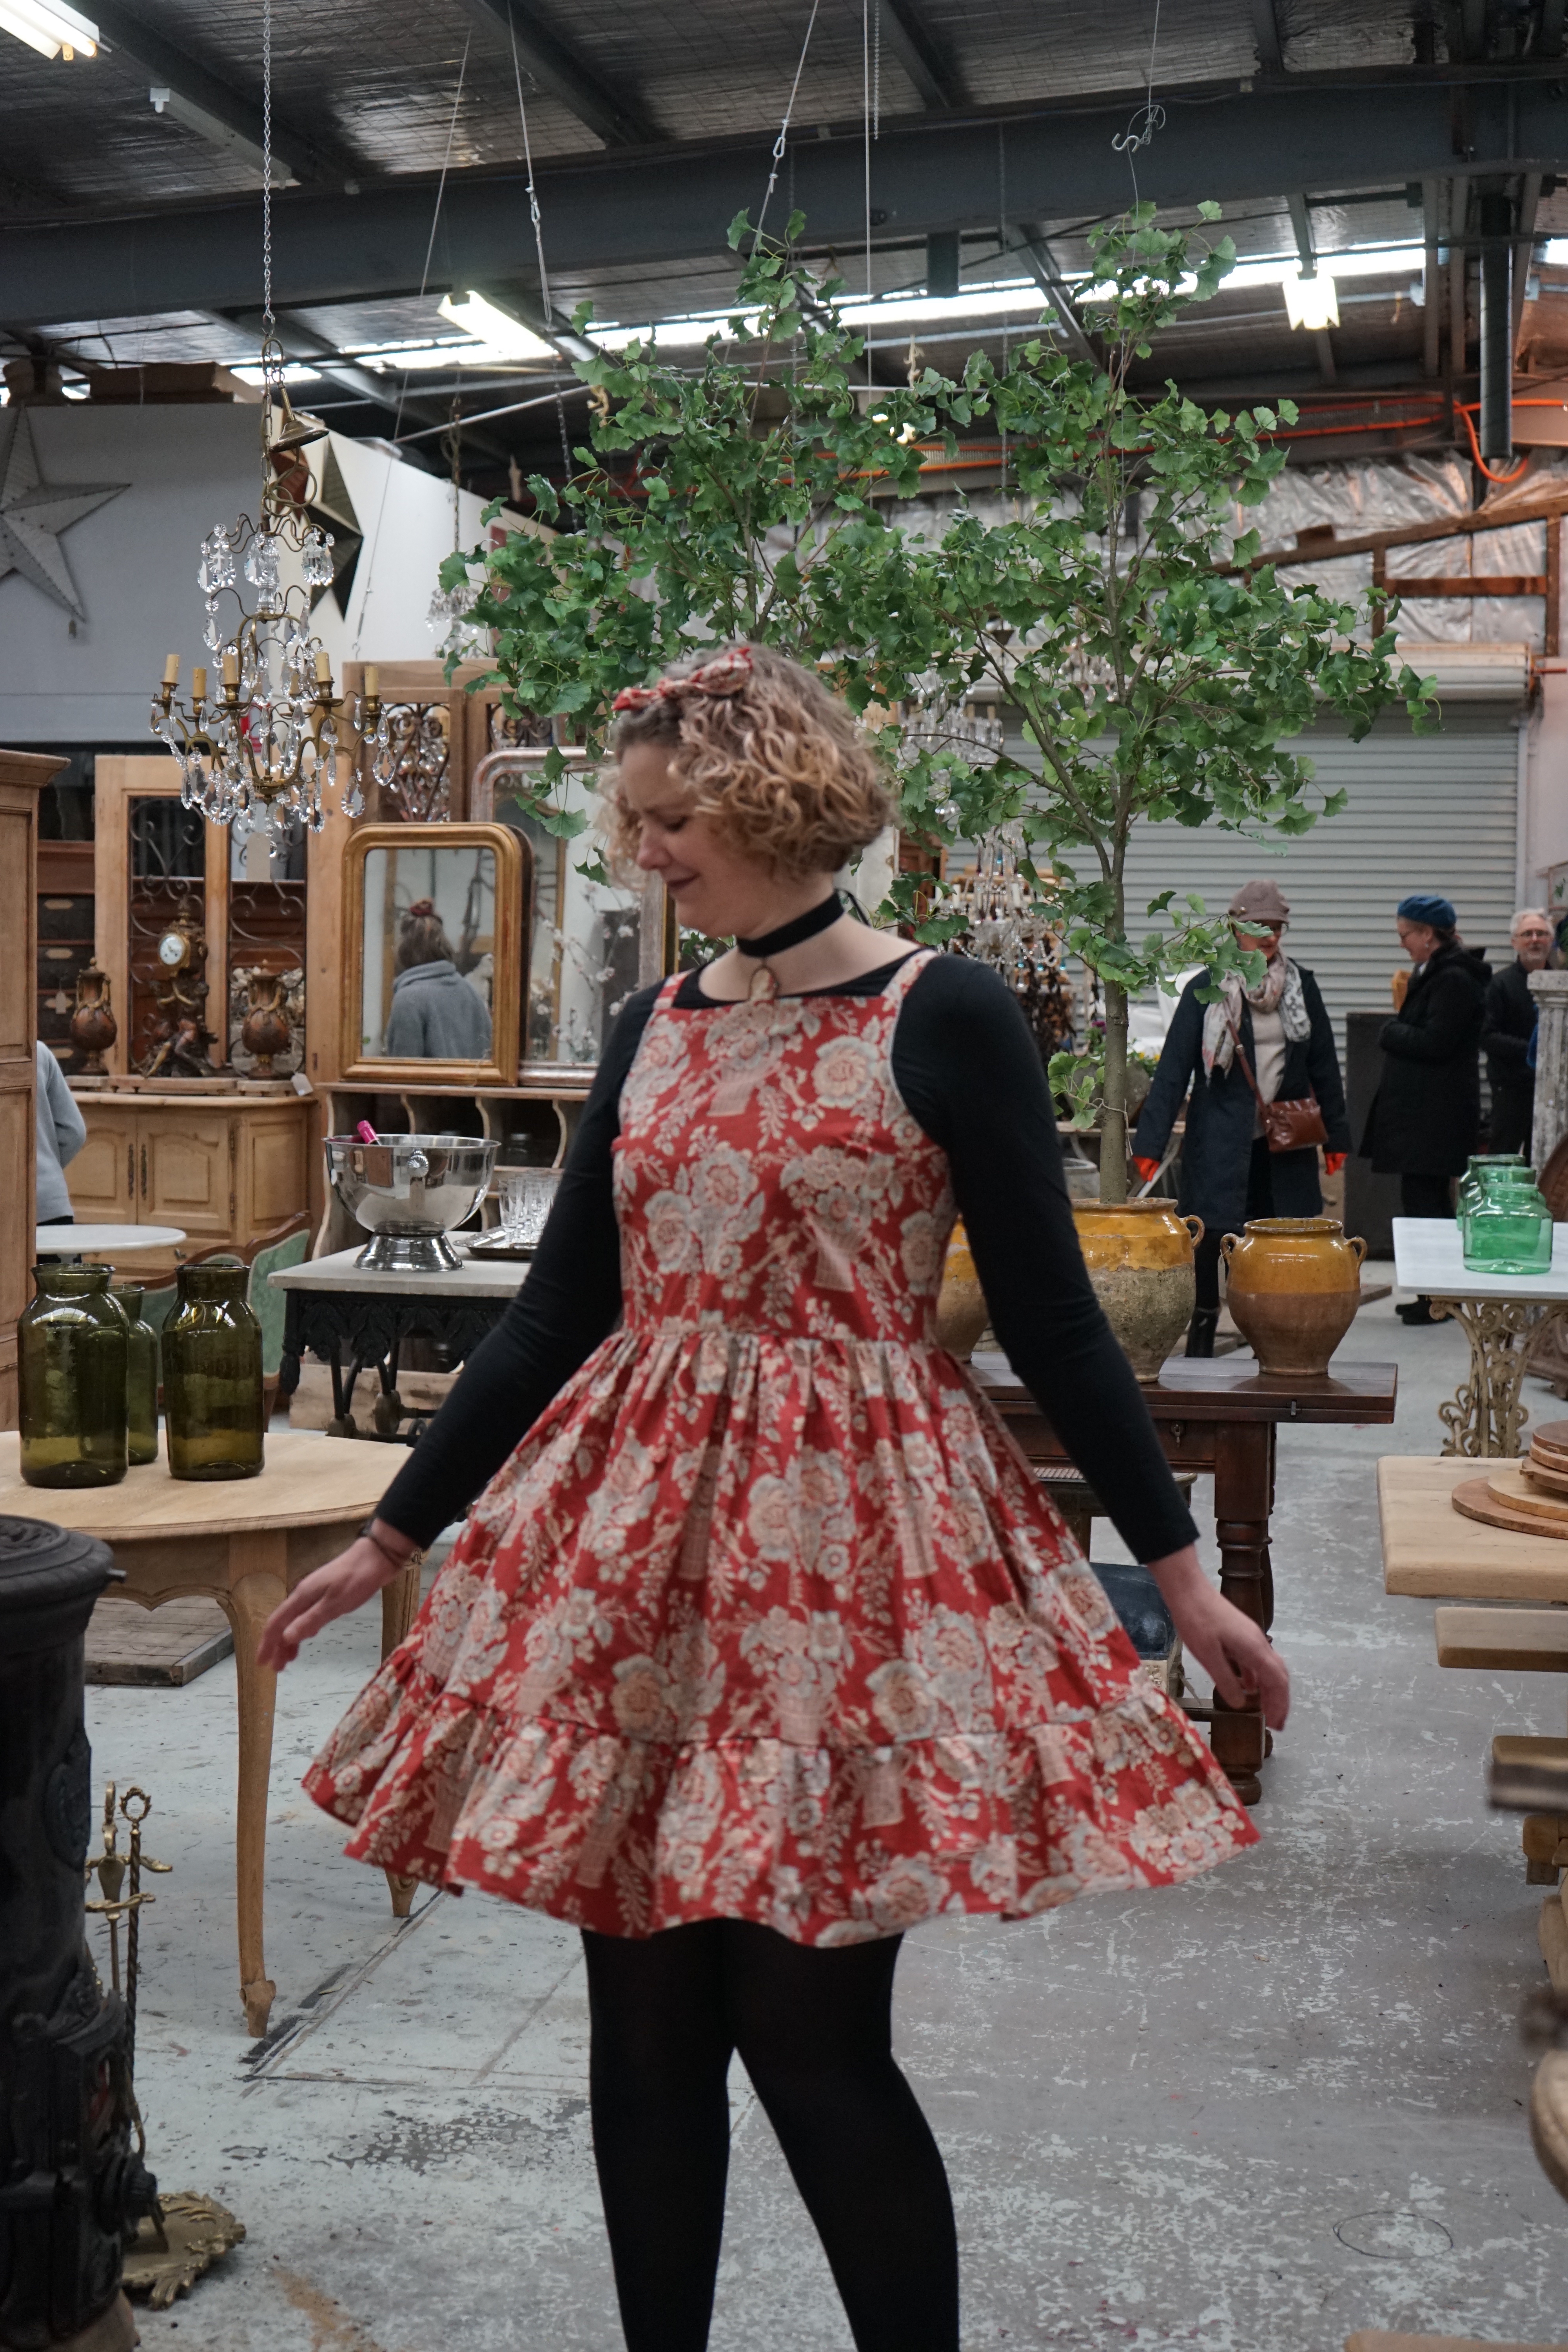
The showcase was also sponsored by Style Arc Patterns, who very generously gifted the pattern for the project. After much deliberation (and a little daydreaming), I chose the Trinnie Woven Expansion Dress — a silhouette that felt modern yet romantic, with just the right amount of drama for the runway.
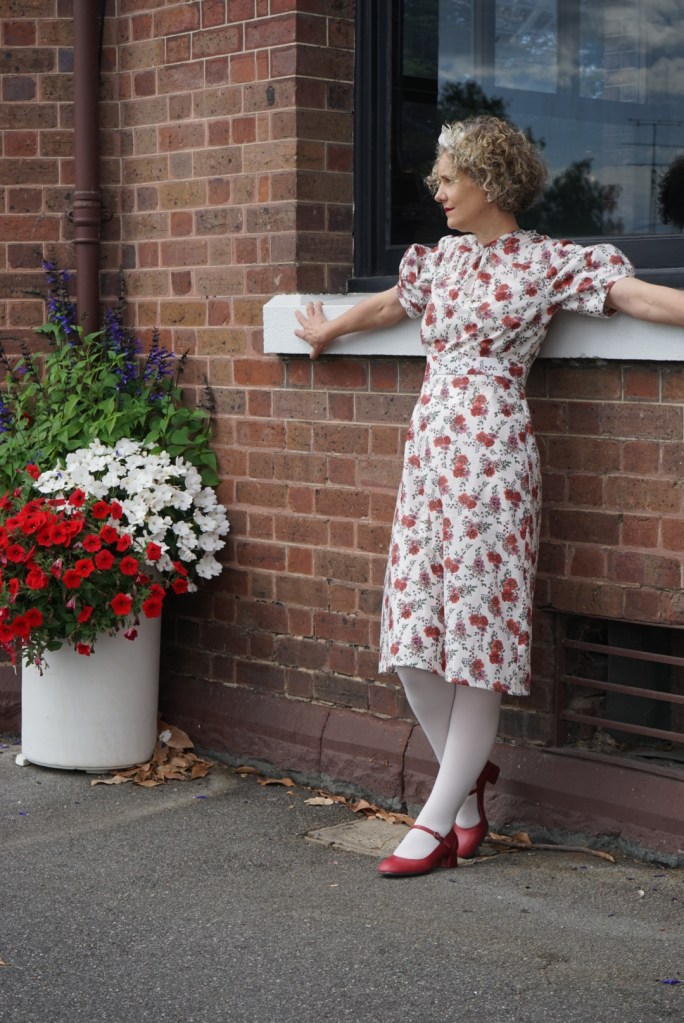
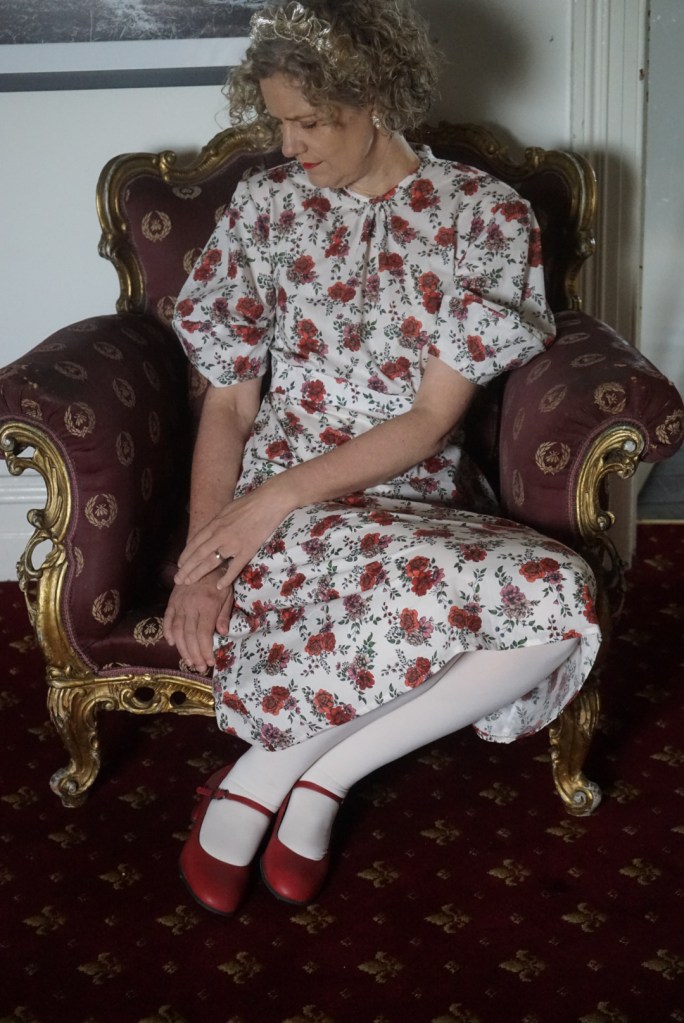
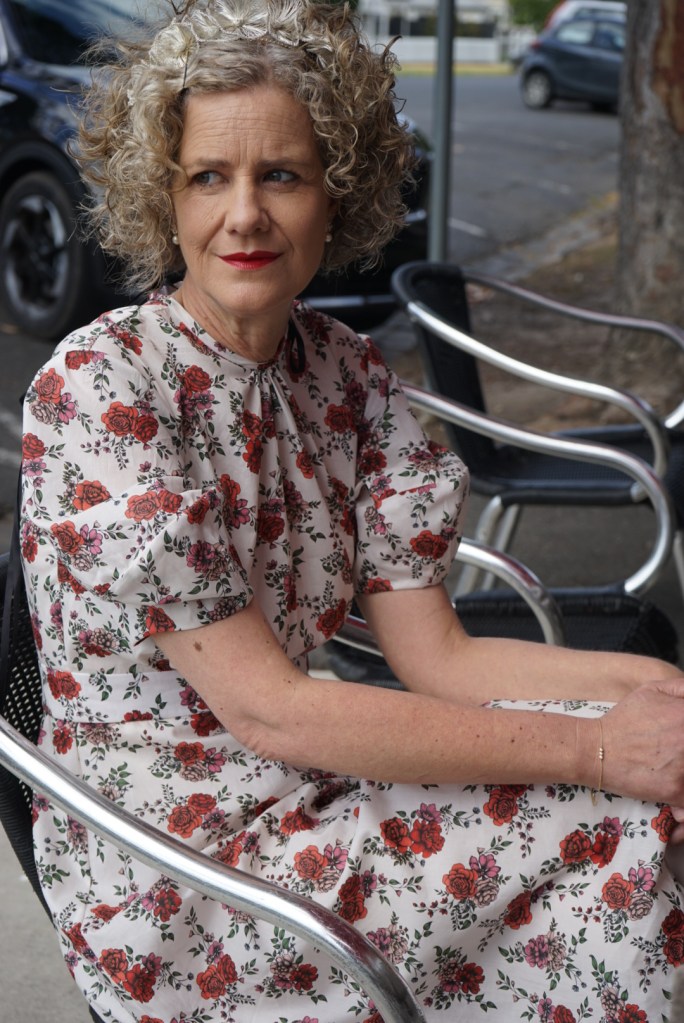
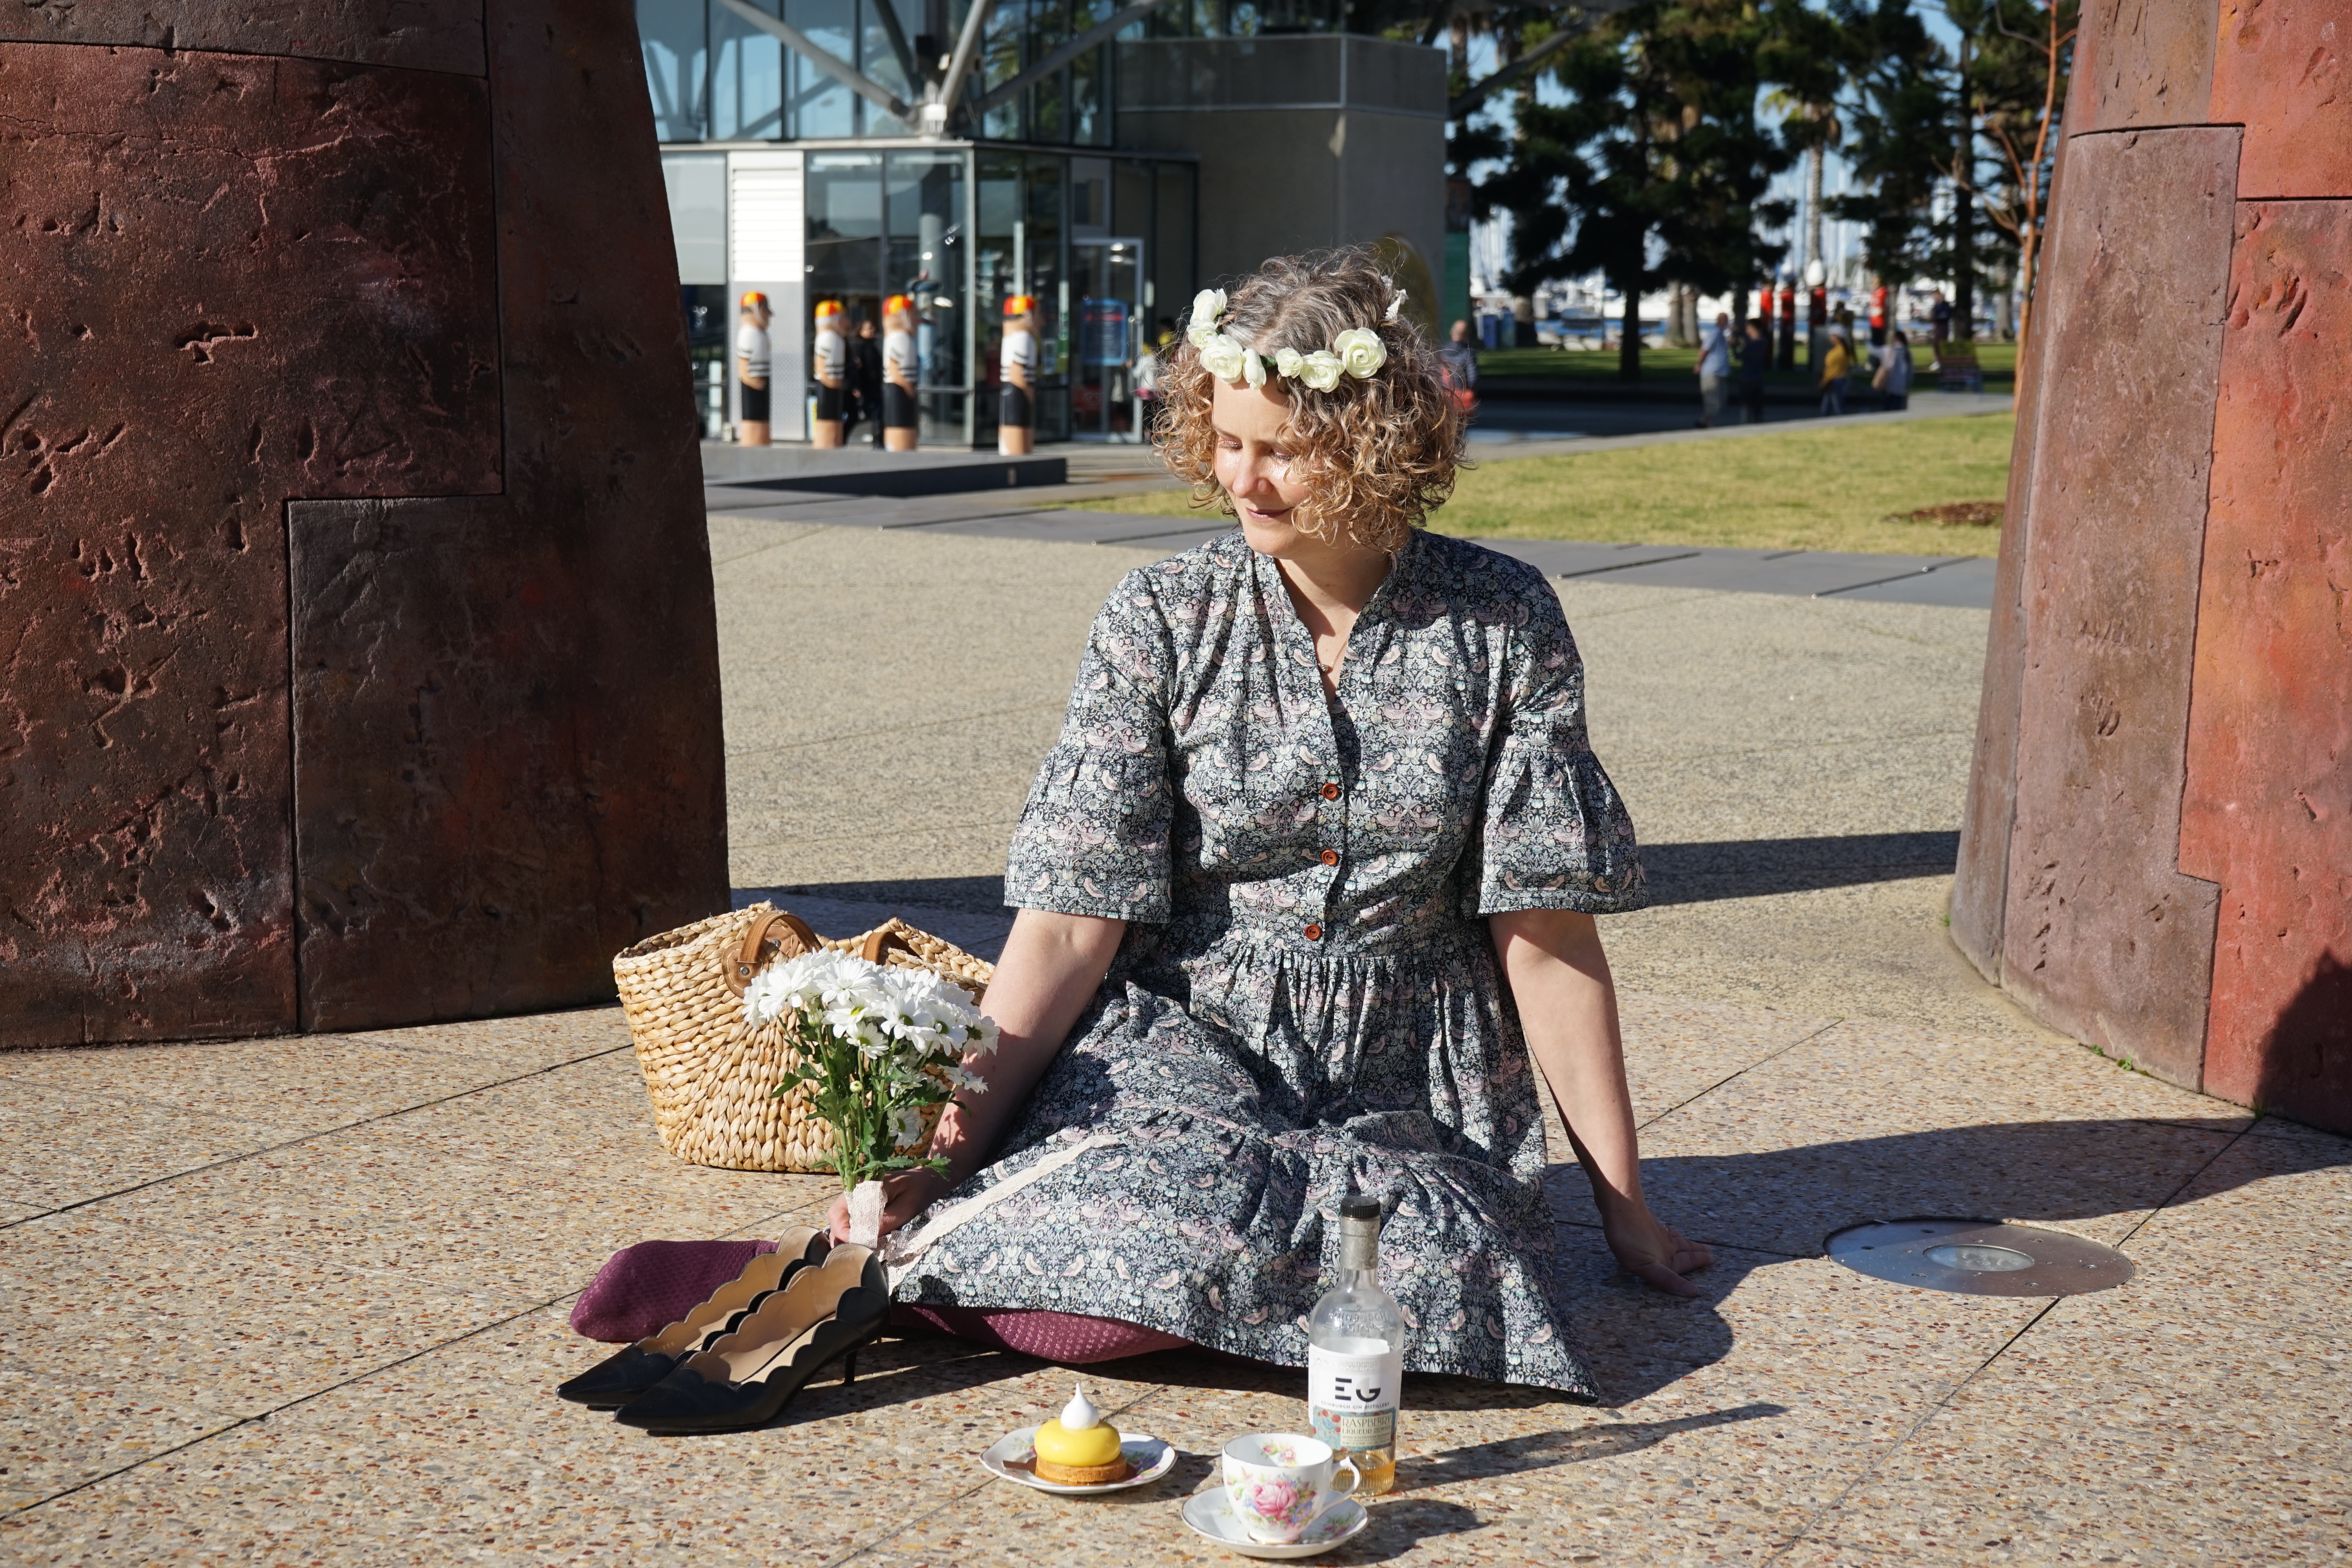
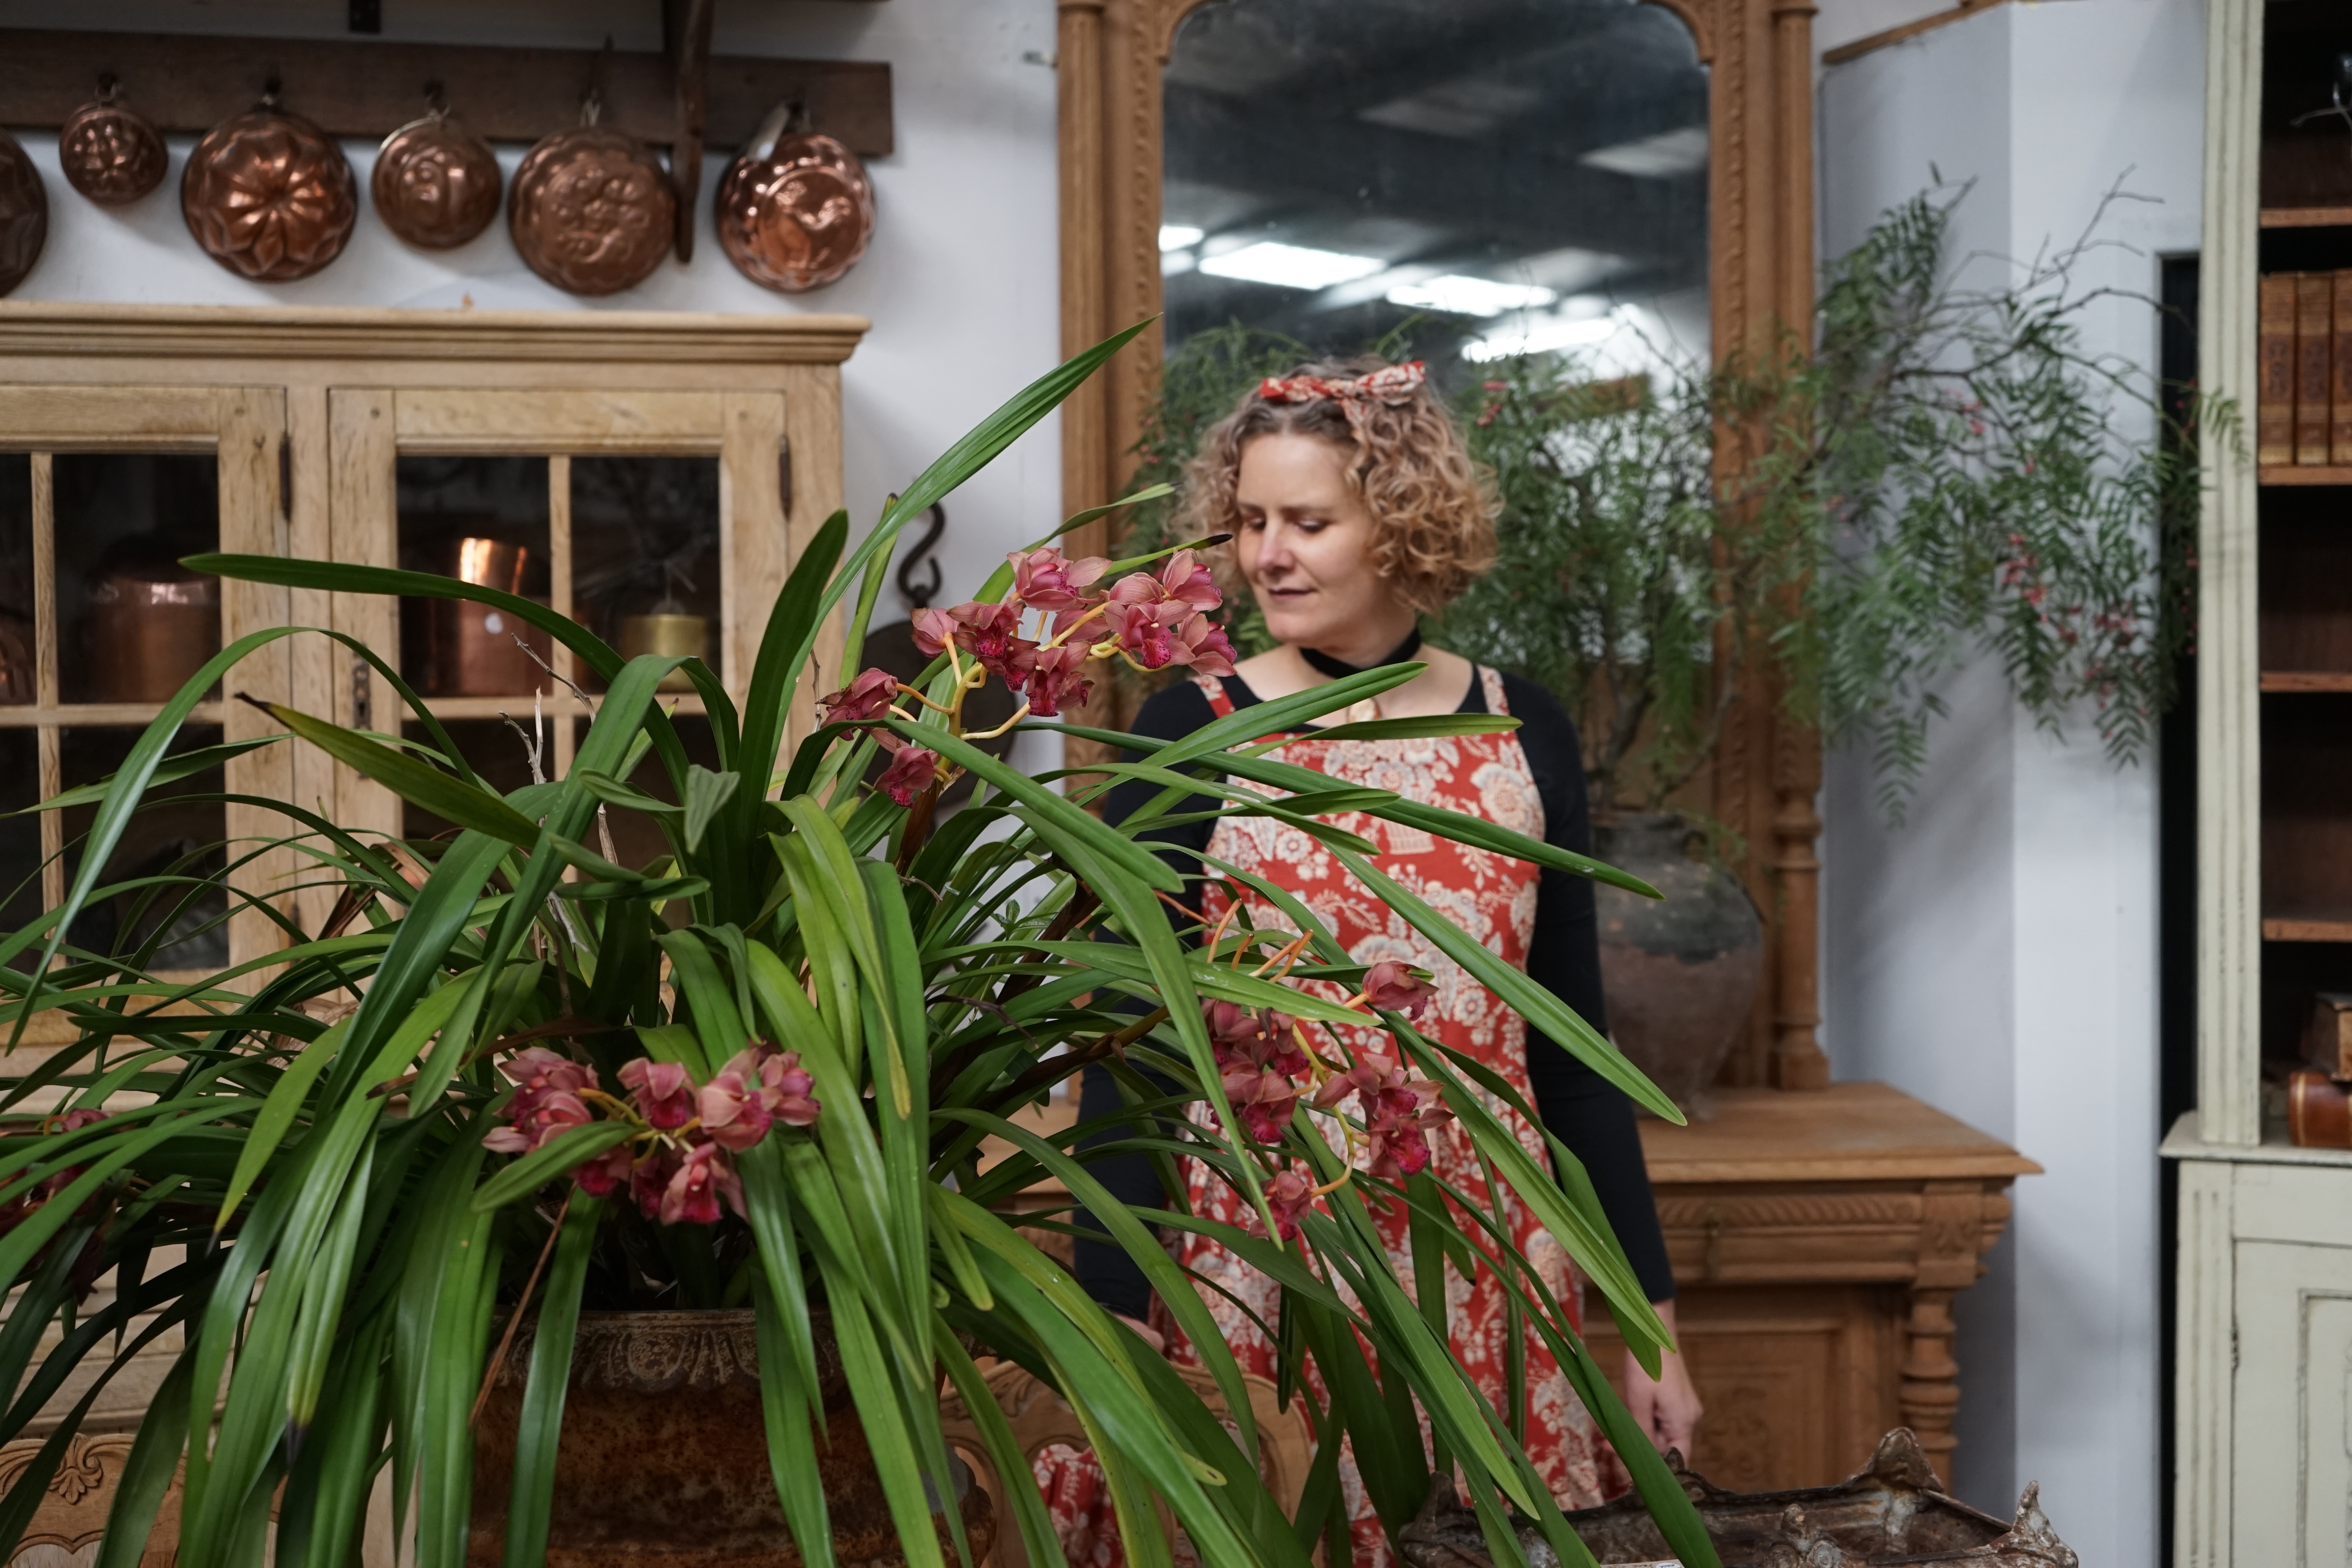
For the fabric, I worked with Inked Rose Liberty Tana Lawn from the Floral Rebellion SS 2026 collection, kindly gifted by Regent Street Fabrics. I absolutely fell in love with this print — bold yet delicate, rebellious yet timeless. It’s one of those fabrics I would have purchased without hesitation had I not been sponsored. It also comes in beautiful blue and pink colourways, both equally tempting.
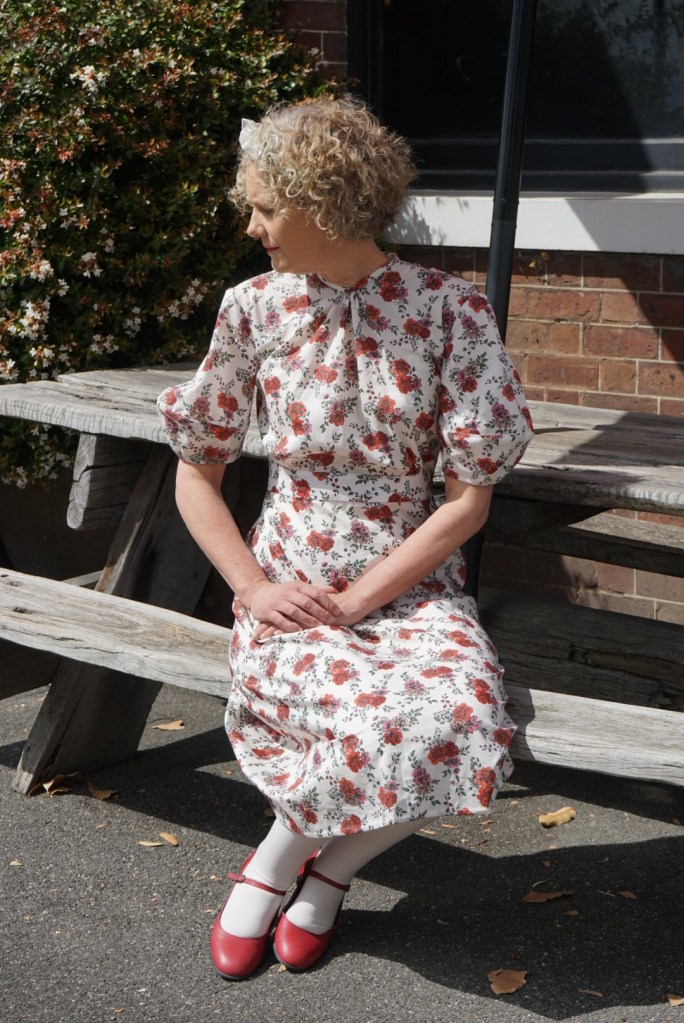
From a construction perspective, the dress was an absolute joy to make. Everything came together seamlessly — no unexpected hiccups, no pattern battles, just one of those rare projects where the sewing gods are entirely on your side. In true rebel spirit (perhaps inspired by the collection itself), I skipped the instructions altogether and went rogue, cutting straight into the paper pattern.
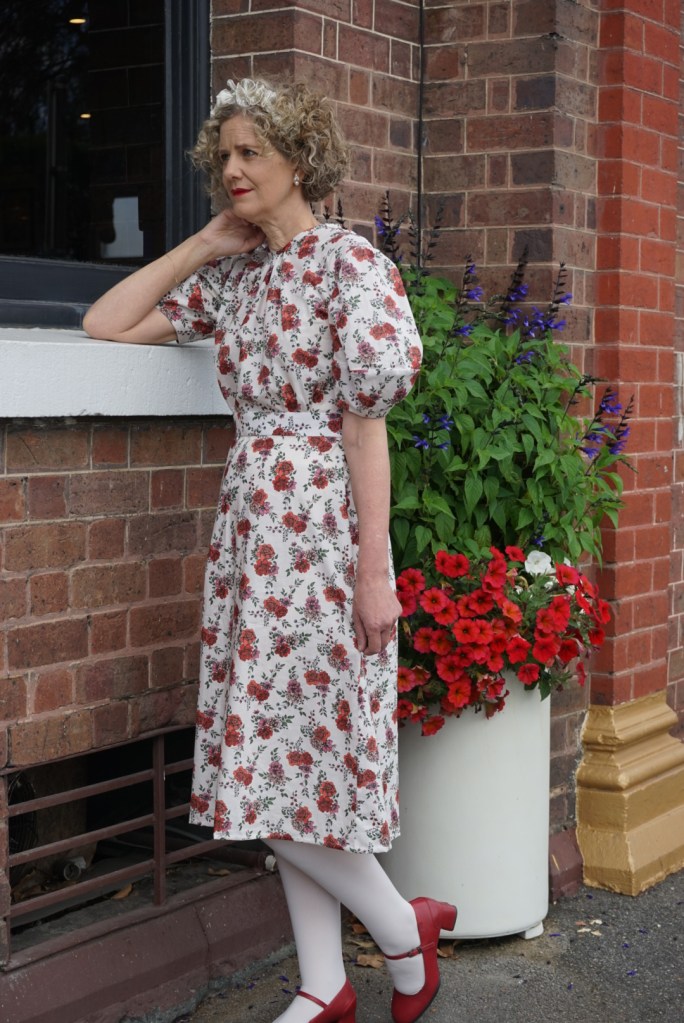
I made a straight size 10 based on the finished garment measurements, and the only adjustment I made was lengthening the bodice by 2.5 cm — my usual modification for a comfortable fit. Other than that, the pattern was beautifully drafted and required no further tweaks.
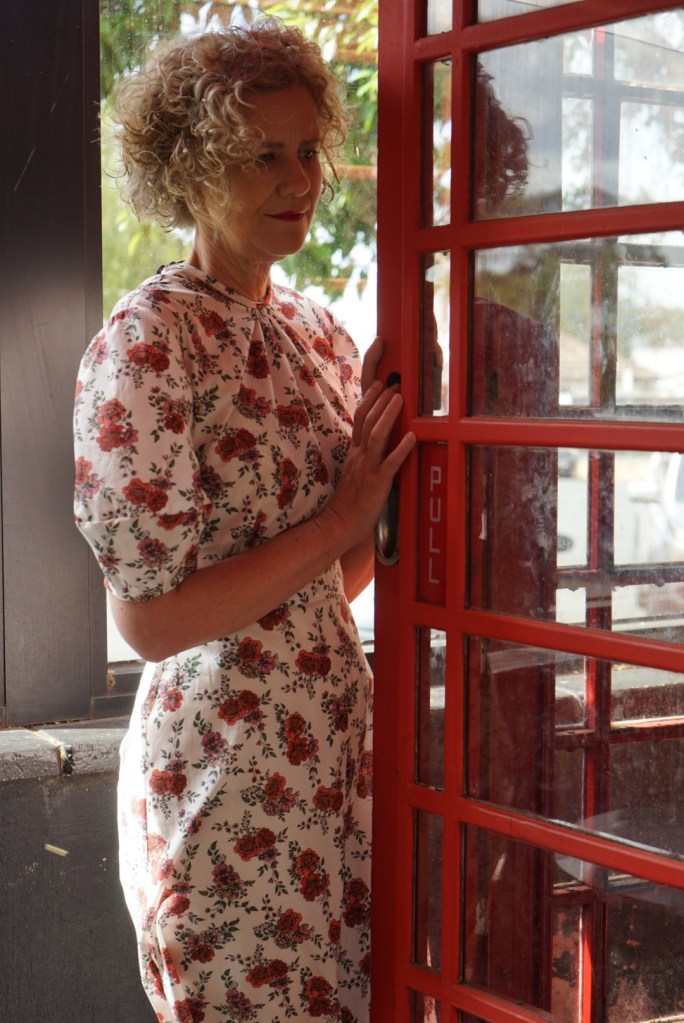
Walking the runway in a dress made with my own hands, in a Liberty fabric I truly adore, surrounded by fellow creatives and Liberty lovers, was an unforgettable experience. It felt like a perfect intersection of craftsmanship, community, and a long-standing love affair with floral prints.
On the day we also got the opportunity to listen to Anna Buruma and Mary-Anne Dunkley from Liberty of London talk about the 150 years of history of print fabrics. Amazing!
I’m so grateful to Regent Street Fabrics and Style Arc for the opportunity to be part of such a special event — and to Liberty, for continuing to create fabrics that inspire us to dream, design, and sew with joy.
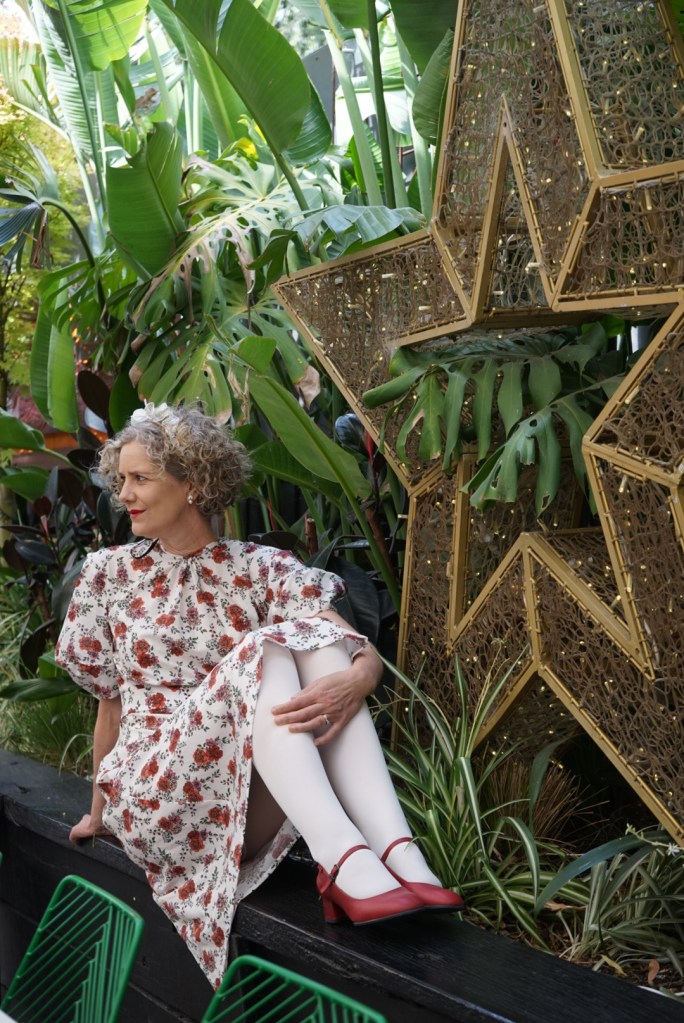
Here’s to Floral Rebellion, fearless sewing, and saying yes when beautiful opportunities come knocking.









































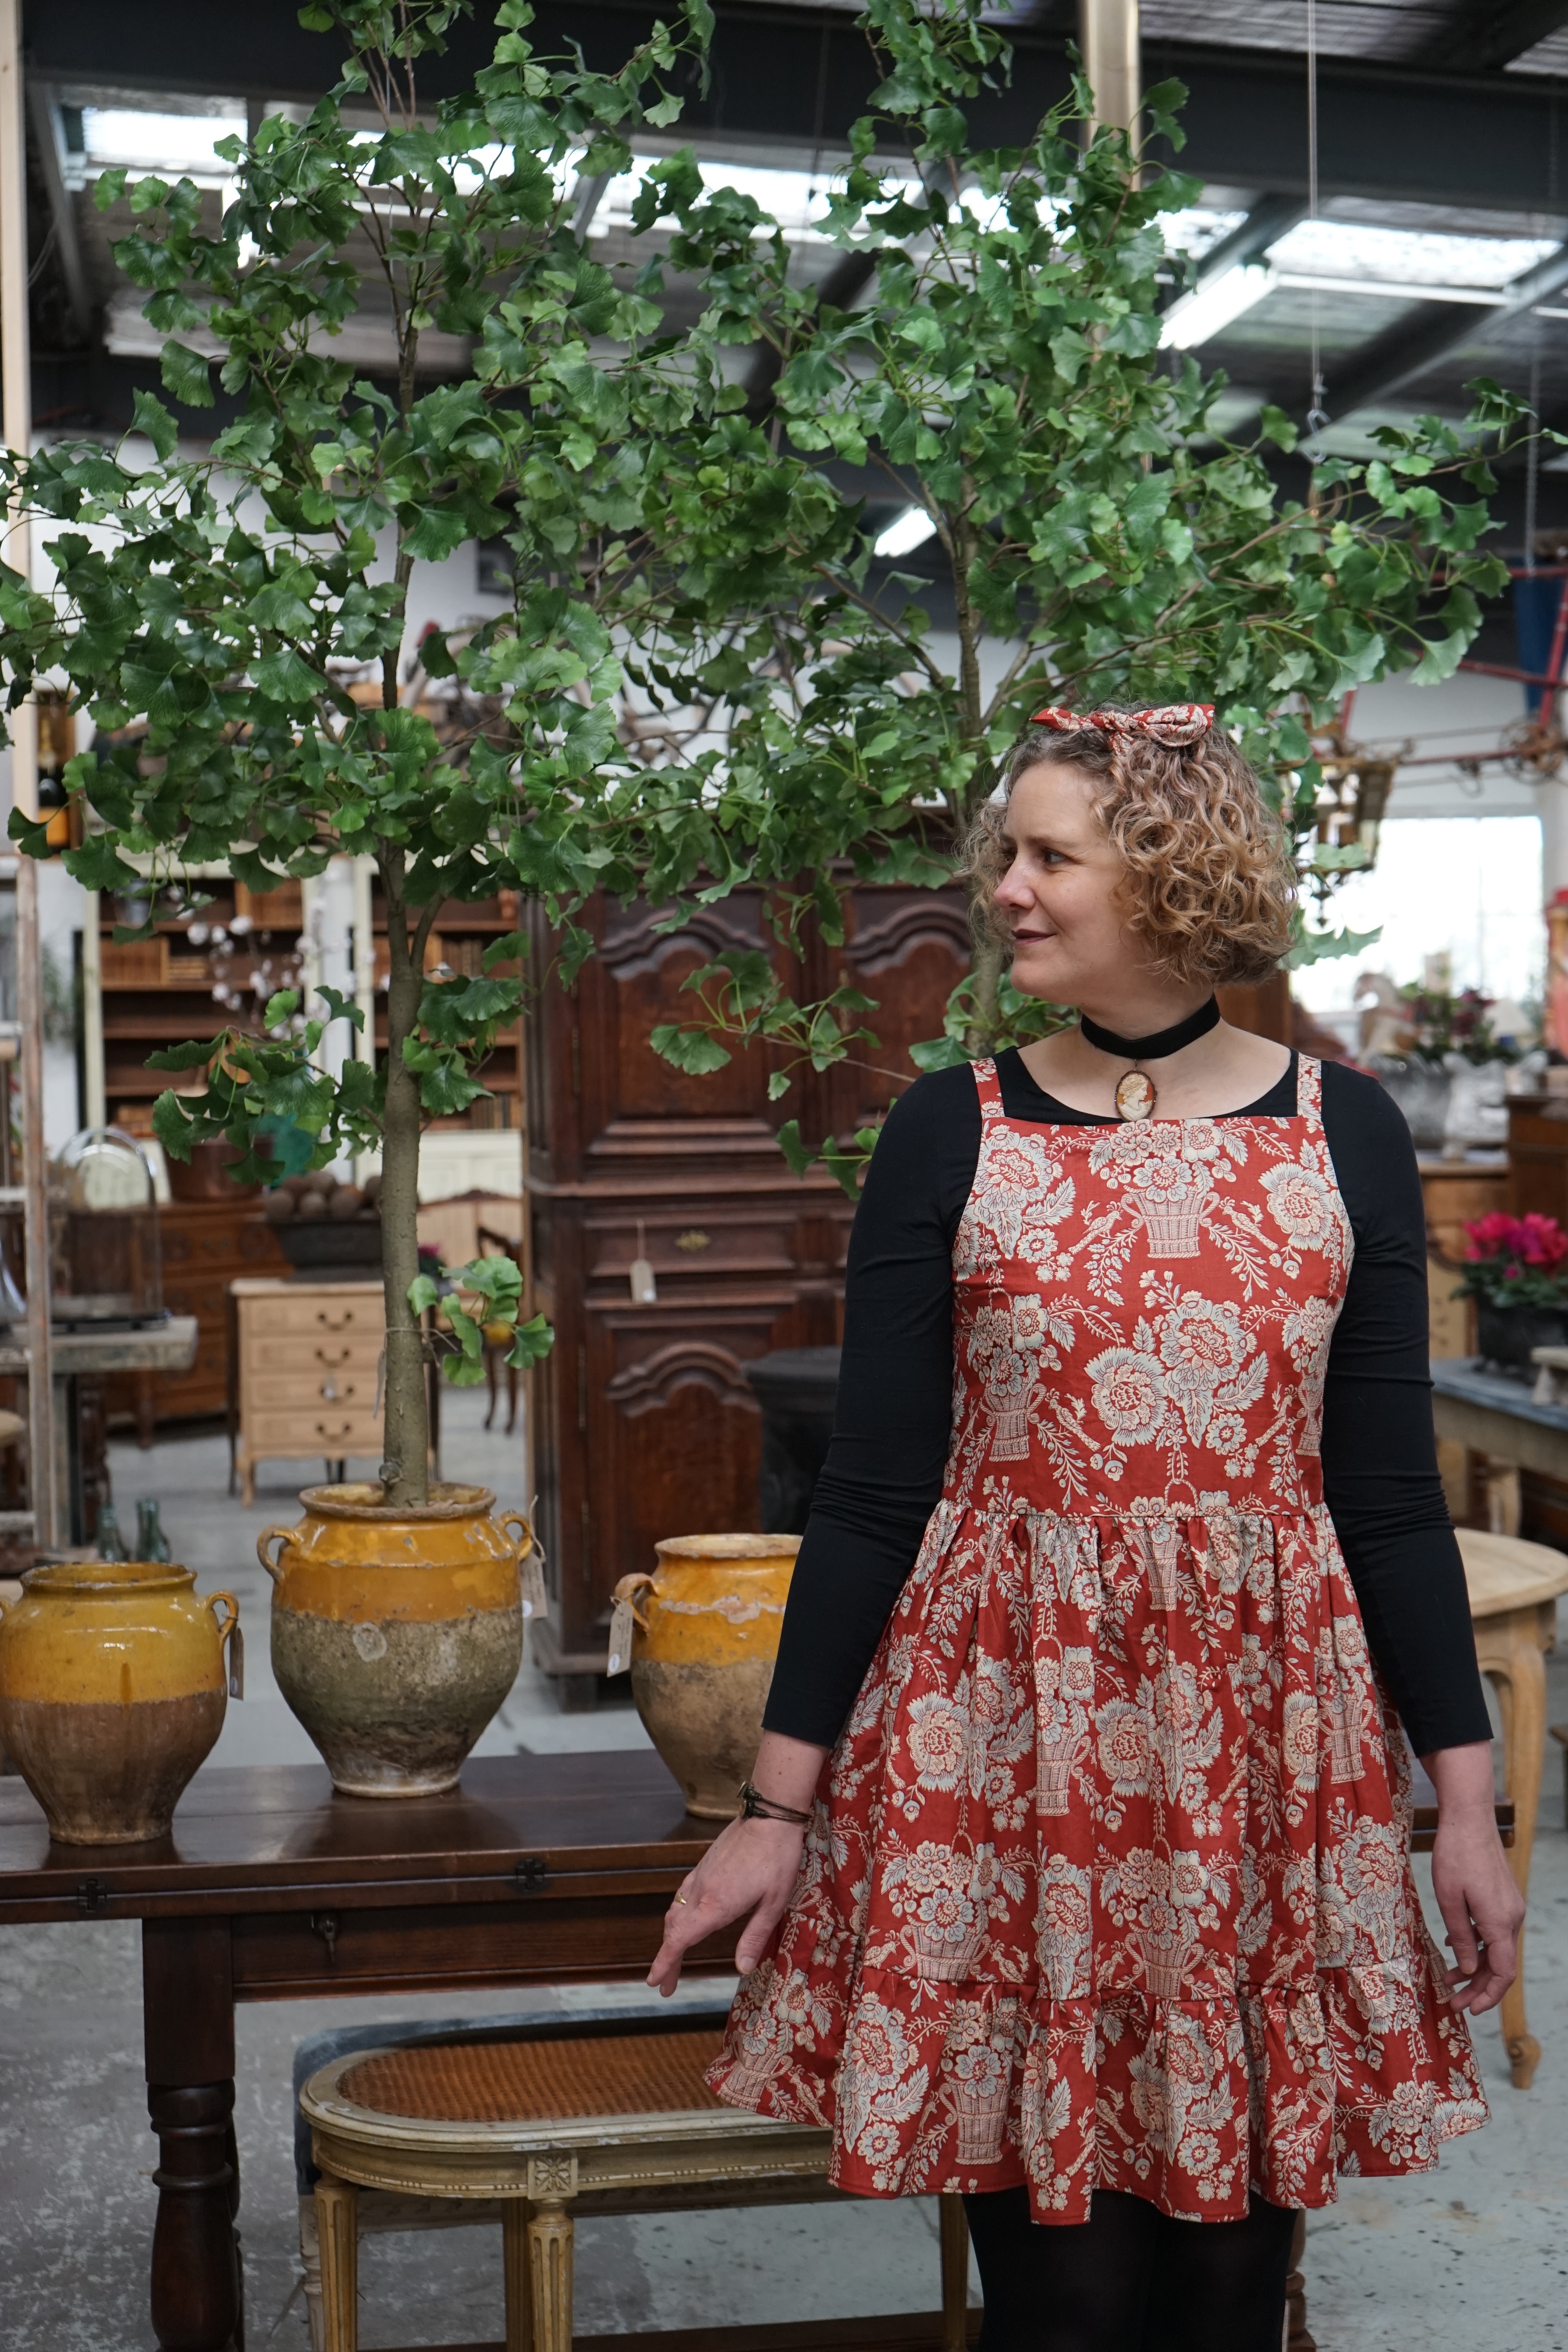
 Fulfilling my dreams of France at